How to Find a Leak in an Above-Ground Pool (Step-by-Step Guide)
Is your pool mysteriously losing water? Here’s how to find that hidden leak fast. It’s a beautiful summer day, and you’re all set to jump into your sparkling above-ground pool only to discover the water level has dropped… again. Frustrating, right? Whether it’s a tiny pinhole or a sneaky liner tear, finding a leak in an above-ground pool can feel like searching for a needle in a haystack. But don’t worry; we’re here to simplify the process and get you back to splashing sooner.
This guide will show you exactly how to find and fix a leak in an above-ground pool, no matter where it’s hiding.

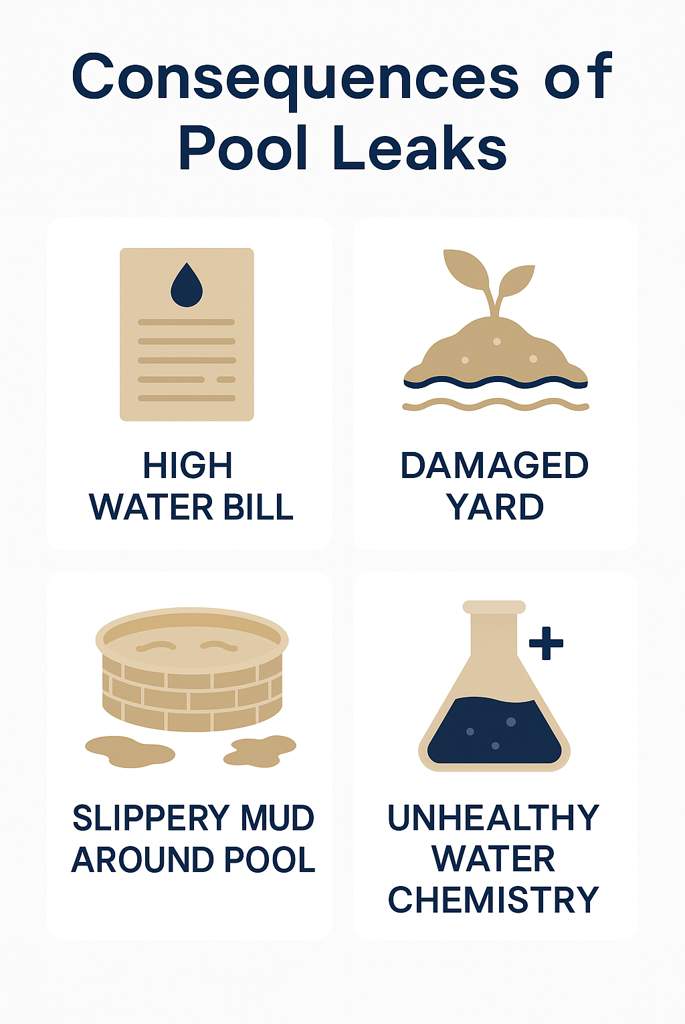
Why It’s Important to Find a Leak Quickly
- Prevent long-term damage to the pool structure or your yard.
- Avoid expensive water bills by constantly refilling the pool.
- Maintain proper chemical balance, which can be thrown off by water loss.
- Keep swimmers safe. Slippery, muddy ground from leaks can be hazardous.
Step-by-Step: How to Find a Leak in an Above-Ground Pool
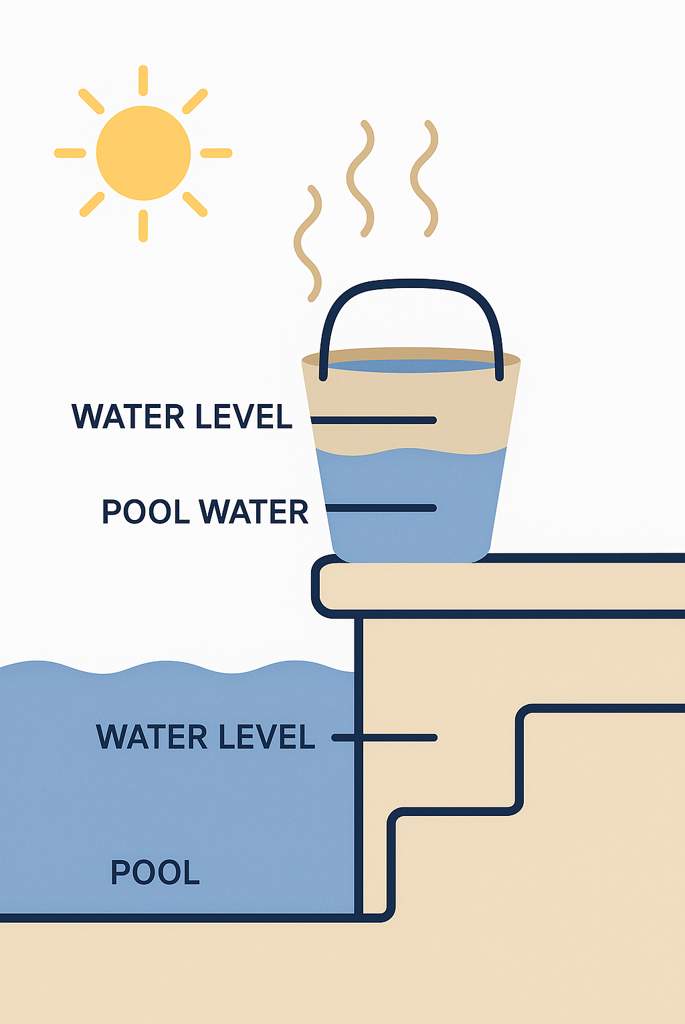
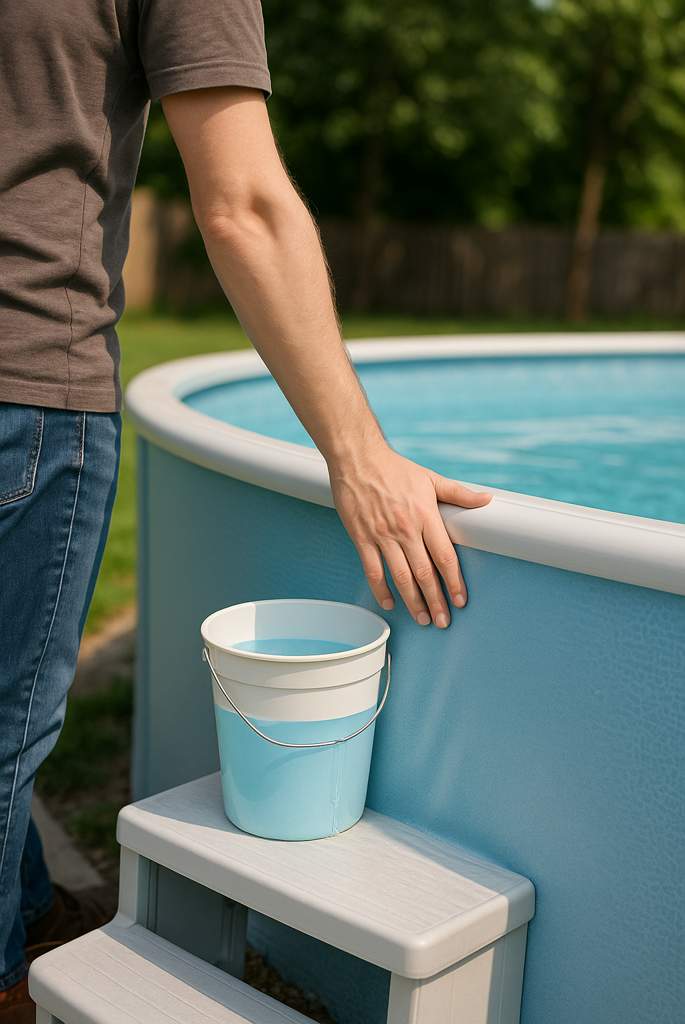
Step 1: Rule Out Evaporation
Before diving into leak-hunting, make sure it’s not just natural evaporation. To test this:
- Fill a bucket with pool water and place it on the pool step.
- Mark the water level inside and outside the bucket.
- Wait 24–48 hours.
- You likely leak if the pool water drops more than the bucket.
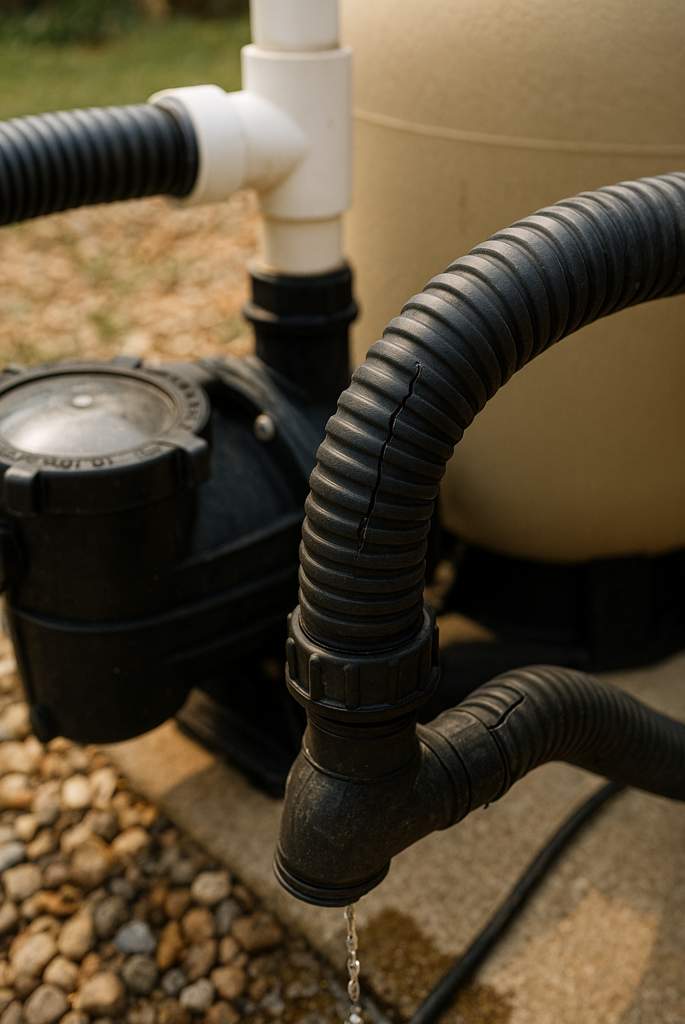
Step 2: Inspect the Equipment Area
Leaks often start where water flows:
- Check hoses and fittings at the pump, filter, and return lines.
- Look for wet spots or puddles near connections.
- Tighten any loose fittings and replace cracked hoses.
Step 3: Examine the Pool Liner
Small punctures or tears in the liner are common culprits.
- Turn off the pump to calm the water.
- Slowly walk around the pool and feel for soft spots or wrinkles.
- Inspect seams and corners. These areas often split or stretch over time.
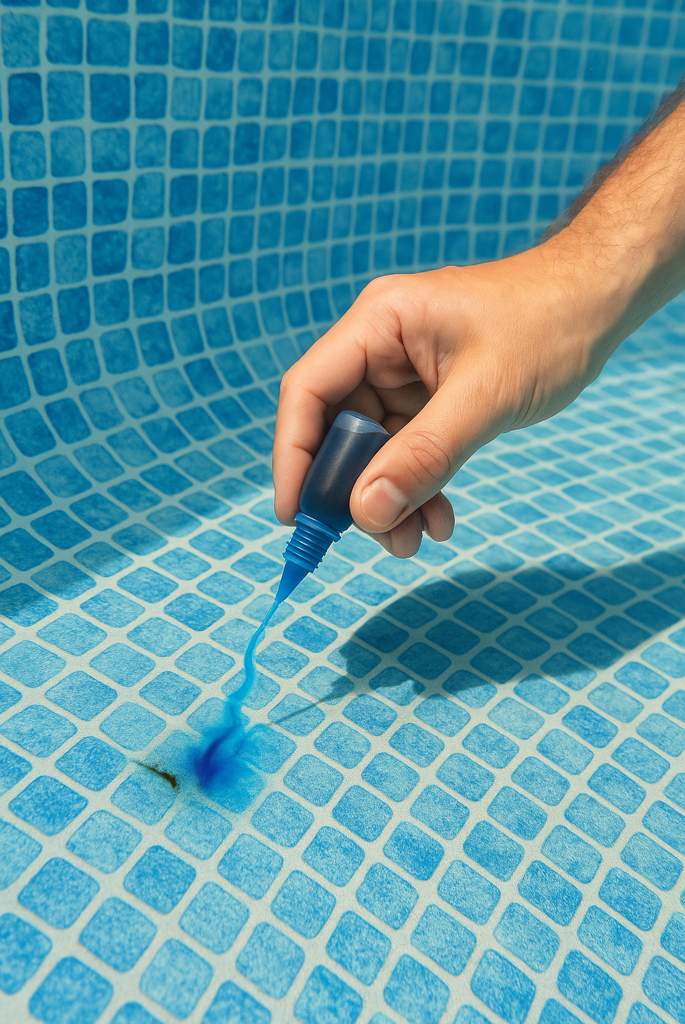
Step 4: Use the Dye Test Method
If you have a suspected area:
- Mix some food coloring with water.
- Squirt the mixture near the suspected leak underwater.
- If the dye is pulled toward a specific spot, that’s your leak.
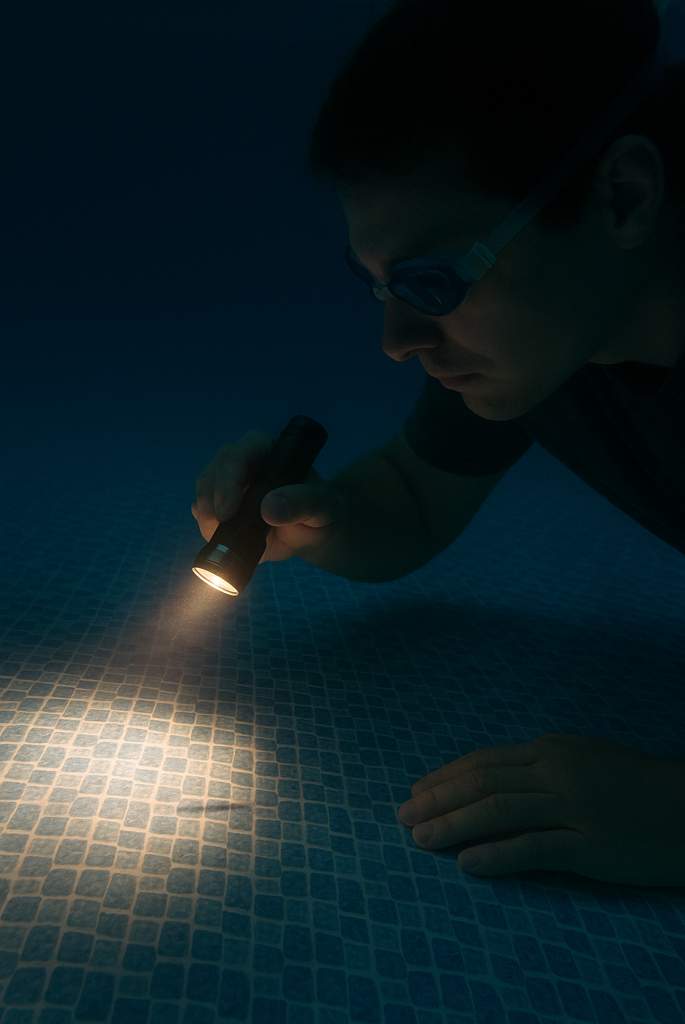
Step 5: Check Around the Bottom
If you suspect the leak is on the floor of the pool:
- Put on goggles and slowly dive down to check.
- Use a flashlight if visibility is poor.
- Be gentle; leaks on the floor can worsen if disturbed carelessly.
How to Fix a Leak Once Found
Once you pinpoint the leak in your above-ground pool, the next crucial step is repairing it properly to prevent further water loss and structural damage. The good news? Most pool leaks, especially in vinyl liners, are easy to fix with the right tools and patience. Here’s a breakdown of the most effective repair methods depending on the type and location of the leak:
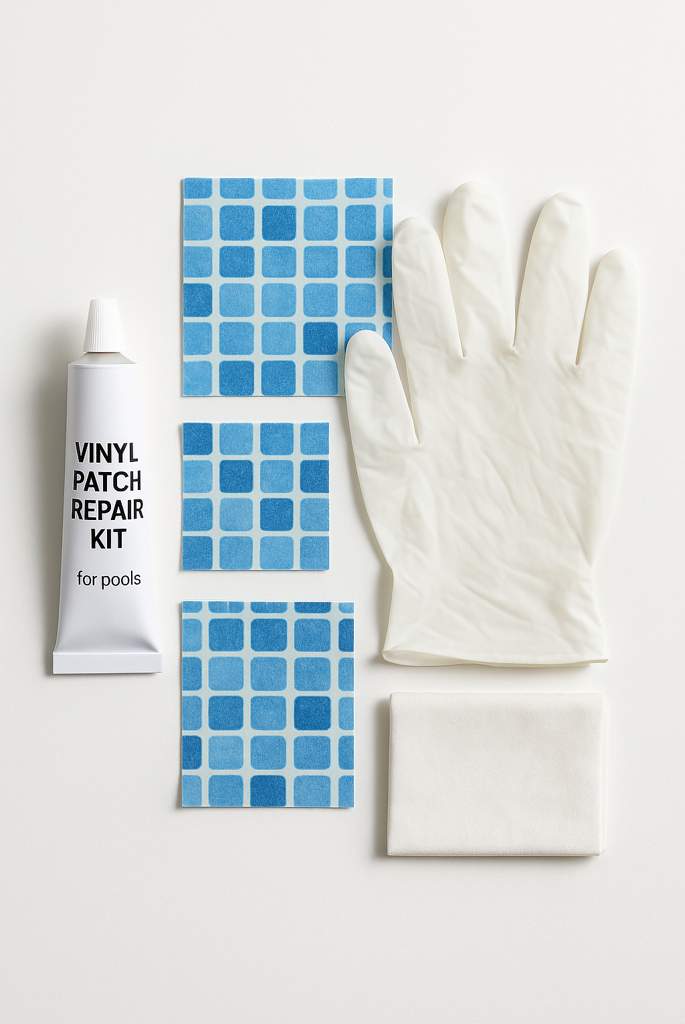
1. Fixing Liner Holes or Punctures
If the leak is caused by a small hole or puncture in the vinyl liner, a vinyl patch repair kit is your best friend. These kits usually include adhesive and pre-cut patches explicitly designed for underwater use. Here’s how to do it:
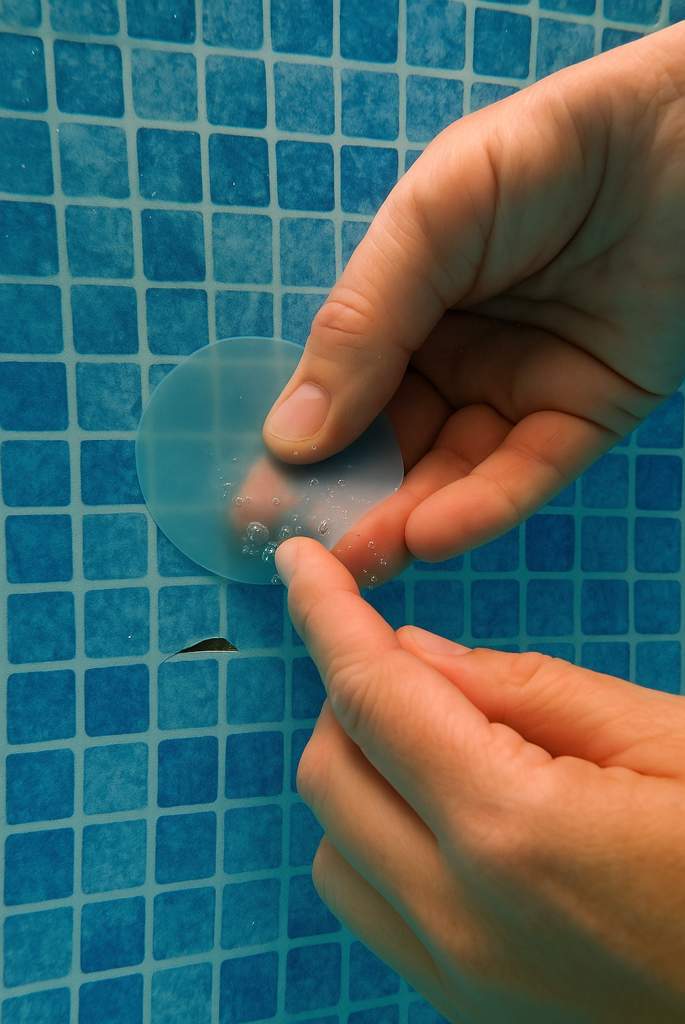
- Clean the area around the hole using a soft cloth to remove dirt or algae.
- Cut a patch at least 2 inches larger than the hole, with rounded edges to avoid peeling.
- Adhesive generously to the patch and the liner (some kits use self-adhesive patches).
- If the repair is below the waterline, fold the patch in half and unfold it underwater before pressing it onto the hole.
- Hold it in place for 30 seconds to 1 minute, then smooth out any bubbles or wrinkles.
Most underwater patch kits cure within 24 hours, though it is best to avoid heavy splashing or vacuuming near the area.
2. Repairing Seam Leaks
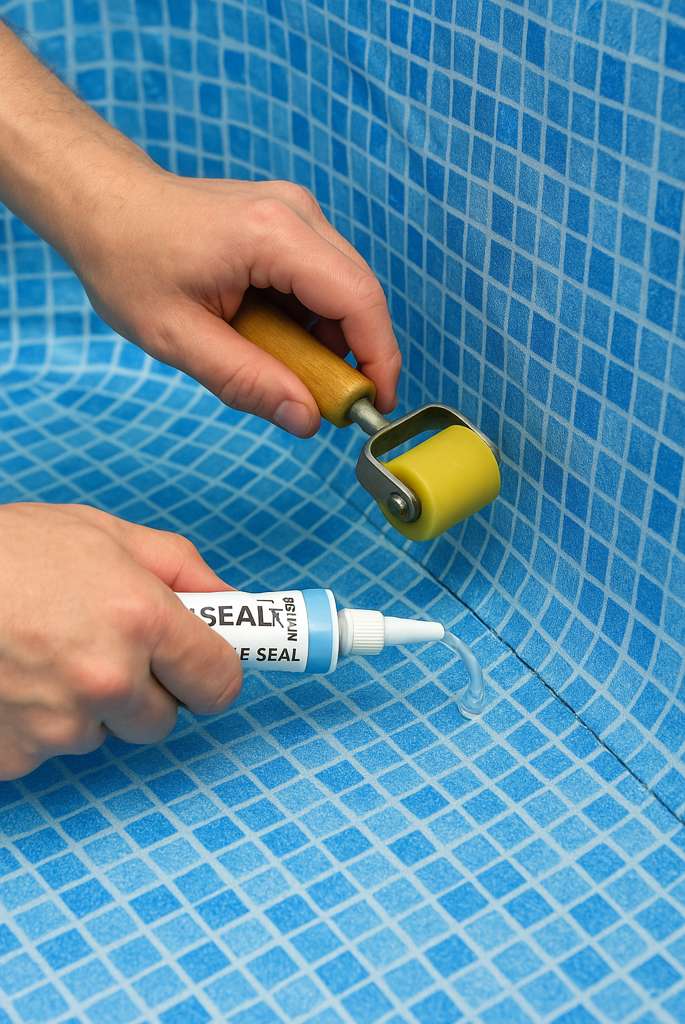
Leaks along the liner’s seams can be trickier as they involve tension and stress points. For these:
- Use vinyl seam sealer or waterproof adhesive that is compatible with pool liners.
- Apply a generous line of sealer directly along the seam.
- Use a soft rubber roller or fingers to press the seam back together and ensure a firm seal.
- Allow the adhesive to fully cure per the product’s instructions, usually 24–48 hours.
3. Fixing Leaks in Pool Plumbing or Fittings
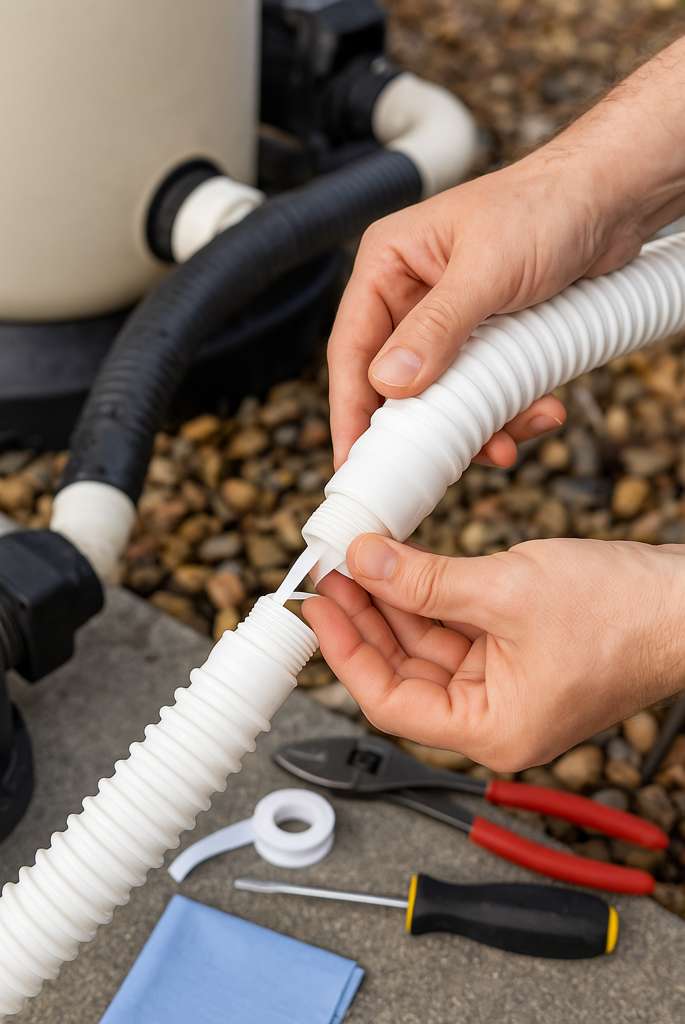
If the leak is not in the liner but instead in the pool’s plumbing system (such as hoses, return jets, or the skimmer box), here’s what to do:
- Turn off the pool pump and inspect all hoses, clamps, and connectors.
- Replace any worn-out or cracked hoses immediately.
- Wrap the threads with Teflon tape before reattaching for threaded fittings to ensure a tight, waterproof seal.
- Use PVC pipe sealant or plumber’s cement for any rigid pipe connections showing signs of leakage.
- After making repairs, turn the pump back on and watch for drips or wet spots to confirm the fix.
4. Dealing with Floor or Wall Wrinkles That Leak
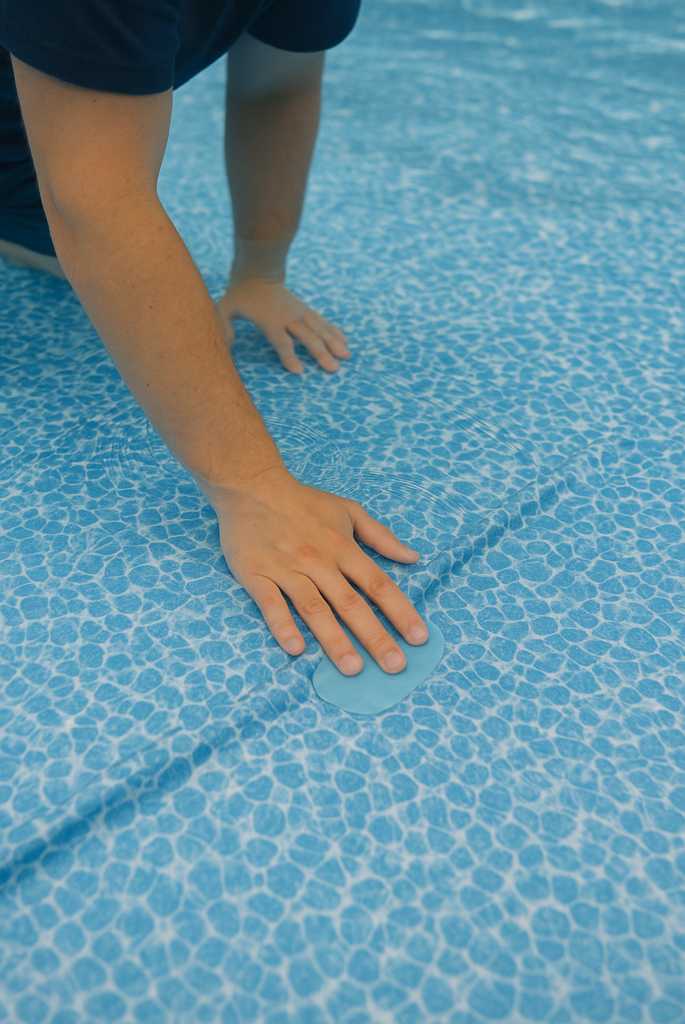
Sometimes leaks can form in areas where the liner has wrinkled, especially on the pool floor. If dye testing confirms a leak in a wrinkle:
- Carefully flatten the wrinkle before patching.
- Apply the underwater patch as you would for a standard hole, ensuring it covers the affected area fully.
FAQ’s
How can I tell if my above-ground pool leaks or if it’s just evaporation?
Use the bucket test mentioned above. It’s the simplest way to rule out evaporation.
2. How do I find a small leak in a pool liner?
Use the dye test to detect tiny tears. Squirt colored water near the suspected spot and watch for movement.
3. Can I fix a pool liner leak without draining the pool?
Yes! Most vinyl patch kits are designed to be used underwater, saving you time and water.
4. Where do above ground pools leak the most?
Common leak points include:
- Return fittings
- Skimmer connections
- Liner seams
- Bottom floor wrinkles
5. How much water loss is normal in a pool per day?
Losing 1/4 to 1/2 inch per day is normal due to evaporation. Anything more suggests a leak.
Final Thoughts
Leaks in above-ground pools are annoying, but they’re also fixable. You’ll swim stress-free with the right tools, patience, and the steps above. Regular inspections and fast action are the keys to avoiding damage, saving water, and enjoying your pool all season.