How to Empty an Above Ground Pool: Step-by-Step Guide
Feeling stuck with dirty pool water or prepping for seasonal shutdown? Draining your above-ground pool might seem like a big job, but it’s satisfying and straightforward once you know the steps. Whether preparing for winter, changing out the liner, or just starting fresh with clean water, emptying your pool adequately protects your liner, pool walls, and equipment. Plus, doing it incorrectly can cause yard flooding or pool damage, so it’s worth getting it right.
Here’s a detailed, no-fluff guide on how to empty an above-ground pool safely, efficiently, and without damaging your yard or pool setup.
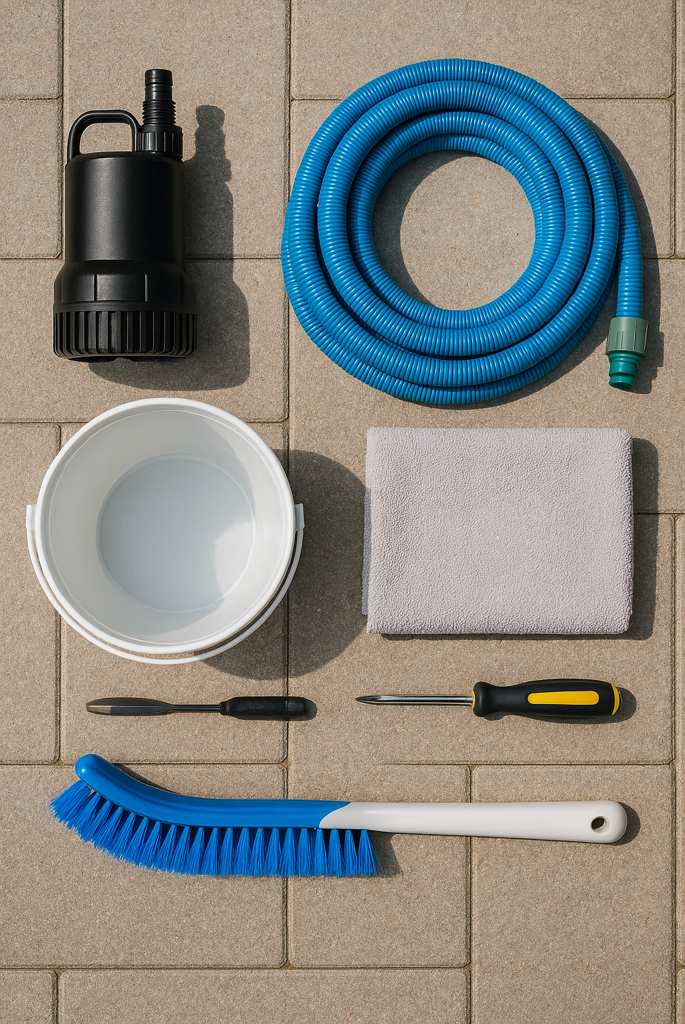
What You’ll Need
Gather everything you’ll need before starting to save time and reduce frustration. A submersible pump is the fastest way to drain large pools, while a garden hose works well for smaller pools using the siphon method. You’ll also want a bucket, screwdriver or pliers, a towel, and maybe a soft cleaning brush if you plan to clean the interior.
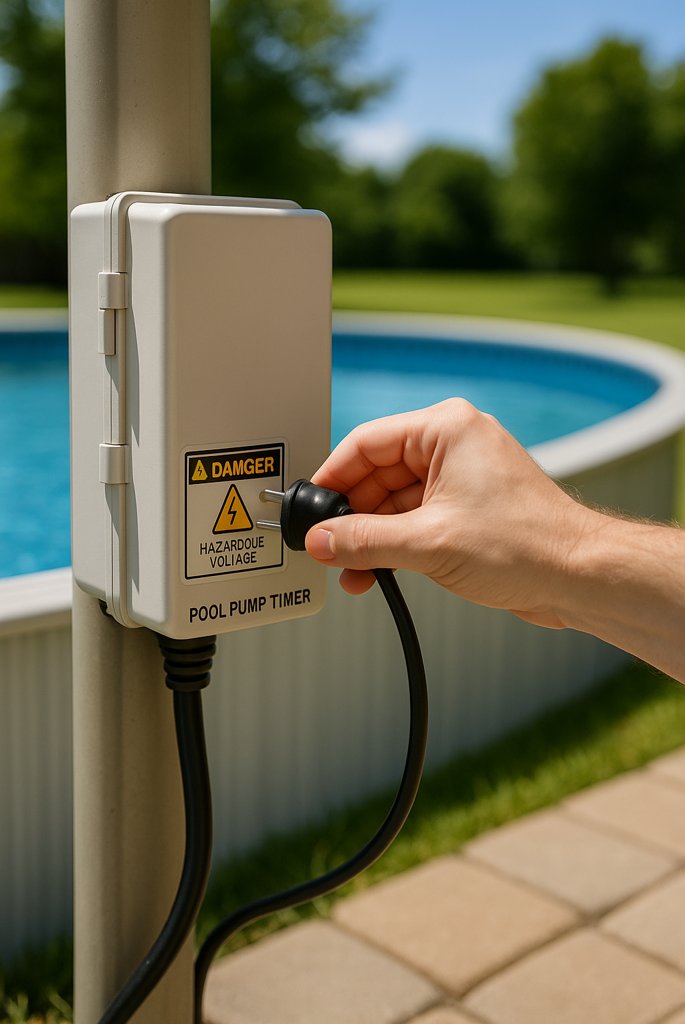
Step 1: Turn Off the Pool Equipment
If you have one, start by turning off all your pool’s electrical equipment, including the pool pump, filter system, and heater. These should never run while the water level drops, as operating dry can burn out motors or cause overheating. If your pool is connected to a timer, ensure it’s unplugged to avoid accidental starts.
Step 2: Choose Your Drain Method
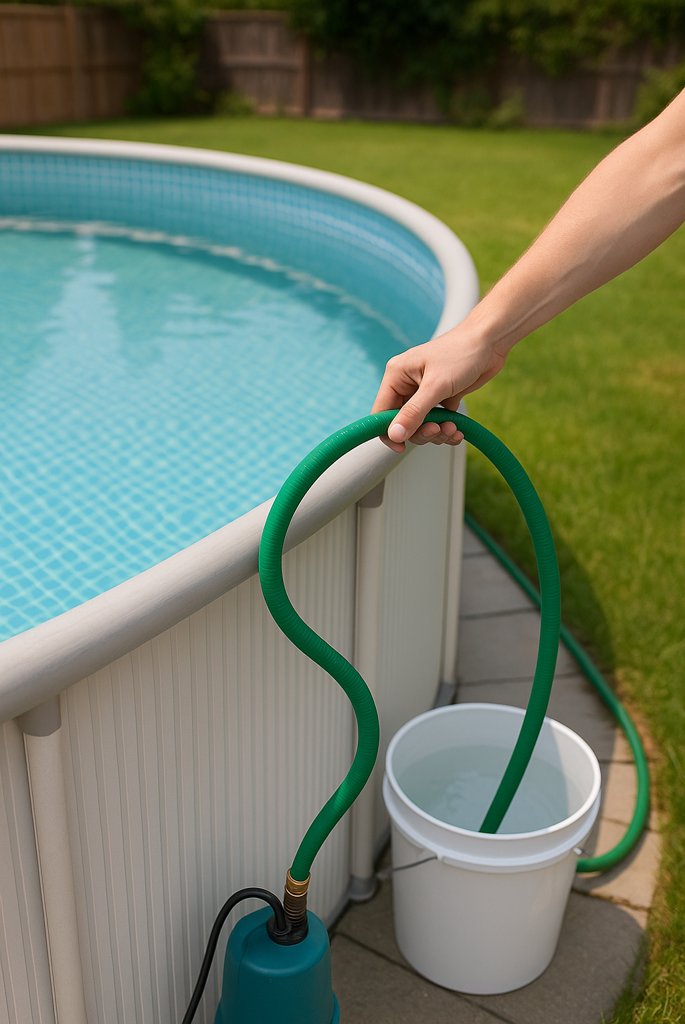
There are two main ways to drain an above-ground pool: using a submersible pump or the siphon method with a garden hose.
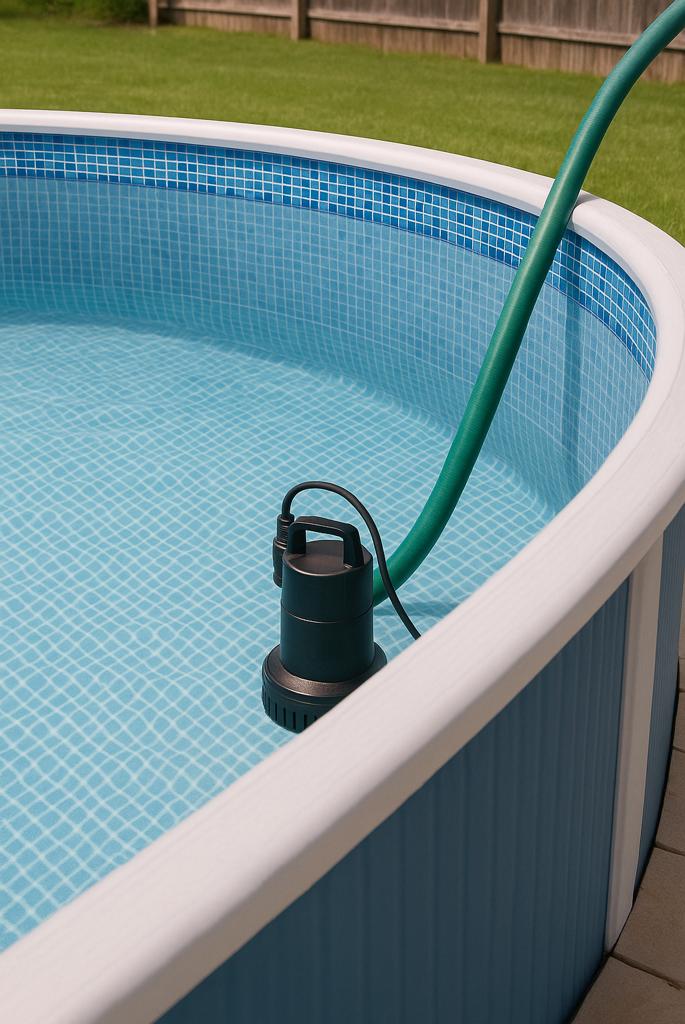
If you can access a submersible pump, that’s the quickest and easiest route. Place the pump on the floor of the pool’s deepest part, connect the drain hose, and direct it far from your home’s foundation or septic system. Check the flow direction before you start to avoid flooding your yard or neighbor’s property. Plug the pump into a safe, grounded outdoor outlet and let it run. Keep an eye on the progress every 15–30 minutes to make sure everything’s working smoothly.
If you don’t have a pump, the garden hose siphon method can do the trick, though more slowly. To create a siphon, submerge the entire hose in the pool until it fills with water. Then, cover one end with your thumb and quickly pull it out, dropping it below the pool’s water level on the outside. Gravity will pull the water out slowly. You may need to restart if the siphon breaks.
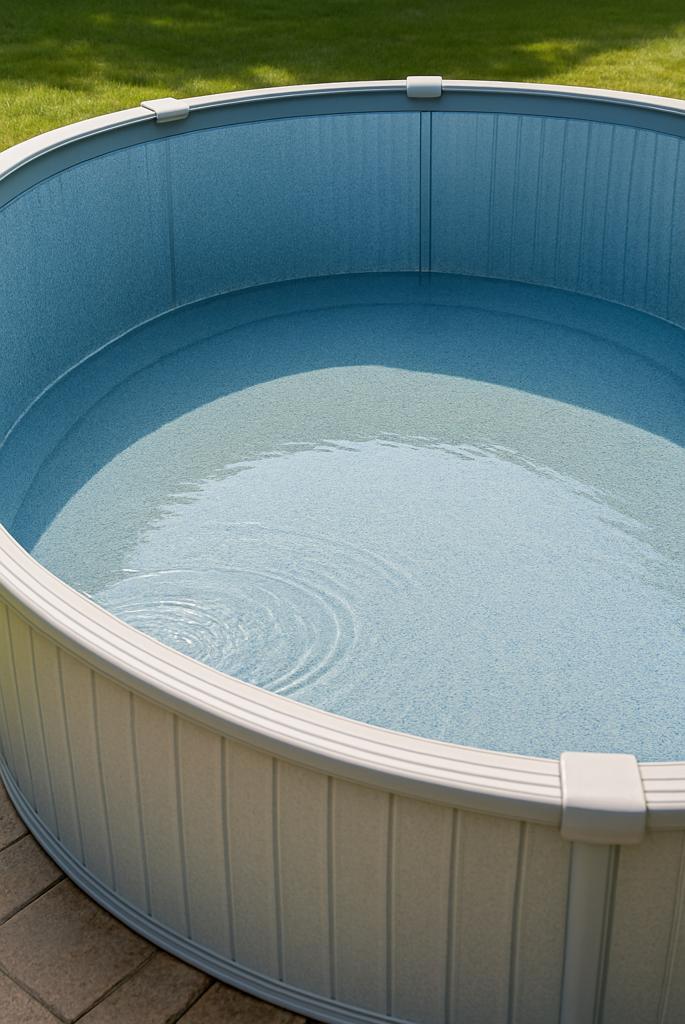
Step 3: Monitor the Water Level
As the water drains, don’t walk away for too long. You’ll want to stop the process once about 1–2 inches of water is left in the bottom of the pool. This is especially important if you’re not planning to disassemble the pool or replace the liner fully. Leaving a small amount of water helps prevent your liner from drying out, shrinking, or cracking under the sun, especially in hot or dry climates.
If you’re draining it completely for off-season storage, liner replacement, or maintenance, let it empty. But never leave the liner exposed to direct sunlight for long periods without water. It becomes brittle and prone to tears.
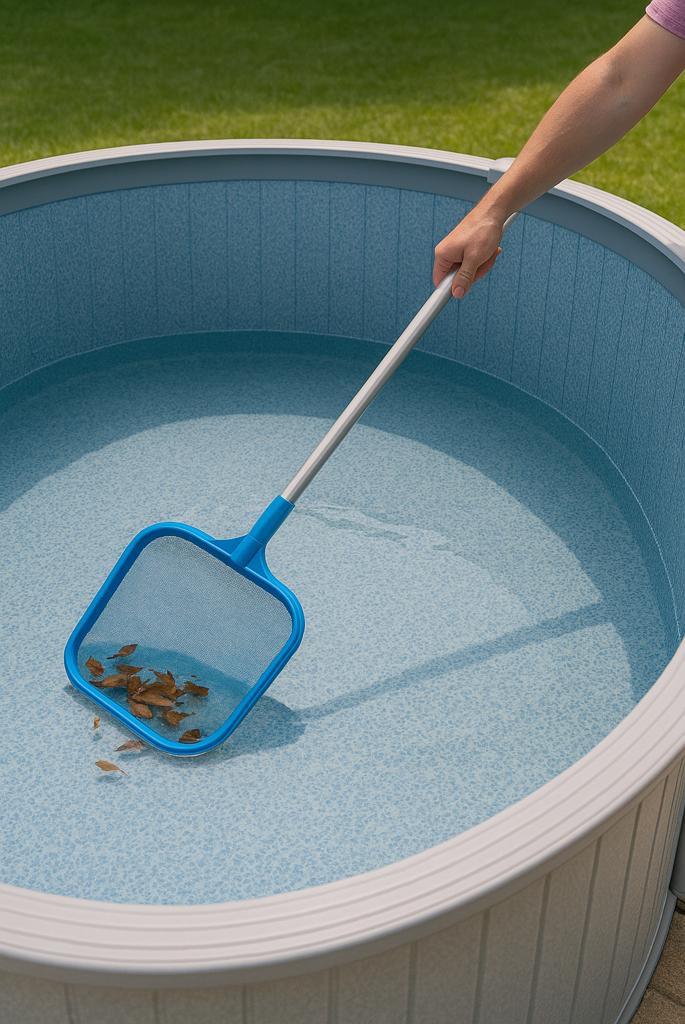
Step 4: Remove Debris from the Pool
While the pool is draining, removing debris floating on the water or sitting on the bottom is a good idea. Use a pool net, skimmer, or vacuum to collect leaves, insects, and dirt. This will prevent organic material from drying onto the liner, which can cause staining or mold if the pool is being stored. Keeping the bottom clean also makes final drying and maintenance work much easier.
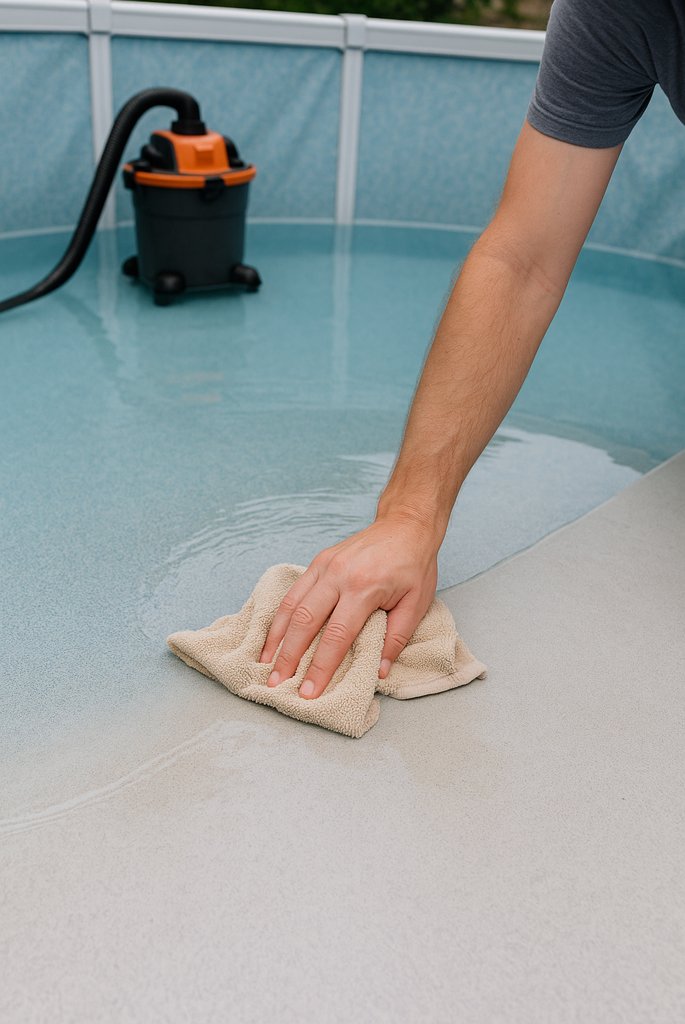
Step 5: Soak Up Remaining Water
Once the bulk of the water is out, you’ll be left with a shallow puddle at the bottom of the pool. You can soak this up with old towels or sponges, or use a wet/dry shop vacuum if you have one. A plastic dustpan or small bucket can also help scoop water from low points. This step is critical if dismantling the pool; any leftover water can lead to mildew or mold during storage.
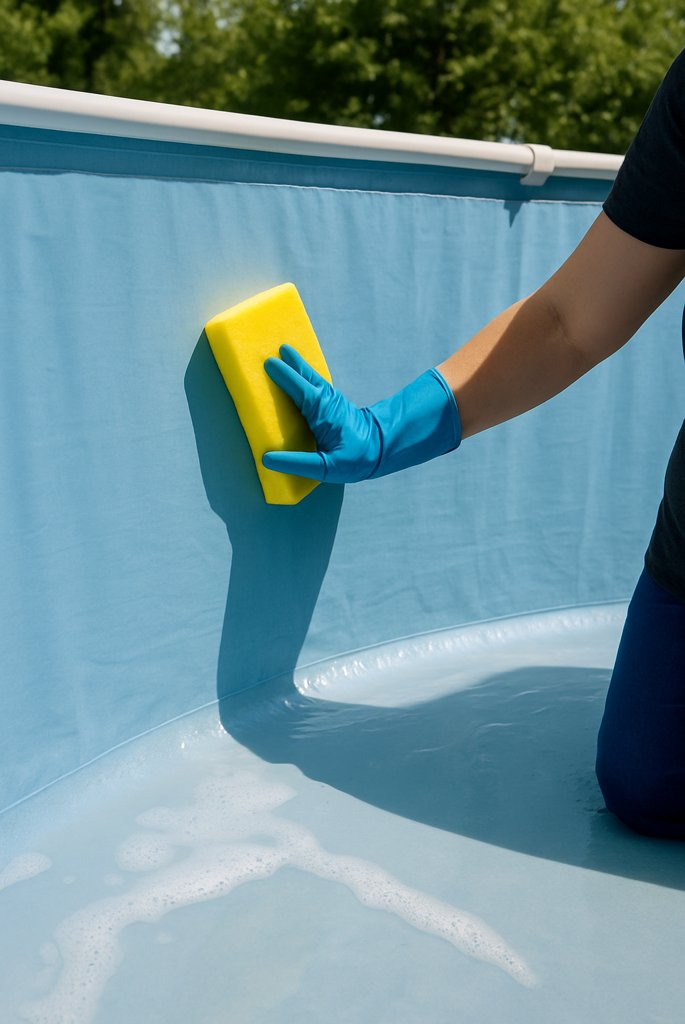
Step 6: Clean the Pool Walls and Floor
With the water completely removed, now’s the perfect time to clean the pool interior. Use a soft sponge or pool-safe brush to scrub the walls and floor. Avoid anything abrasive that could scratch the liner. Mild dish soap or a vinyl-safe pool cleaner works well. Gently scrub off dirt, algae, sunscreen residue, or calcium buildup. Rinse thoroughly with clean water and allow the pool to air dry completely before storing or covering.
Step 7: Store or Cover the Pool
Now that your pool is dry and clean decide whether you’re storing it or keeping it assembled.
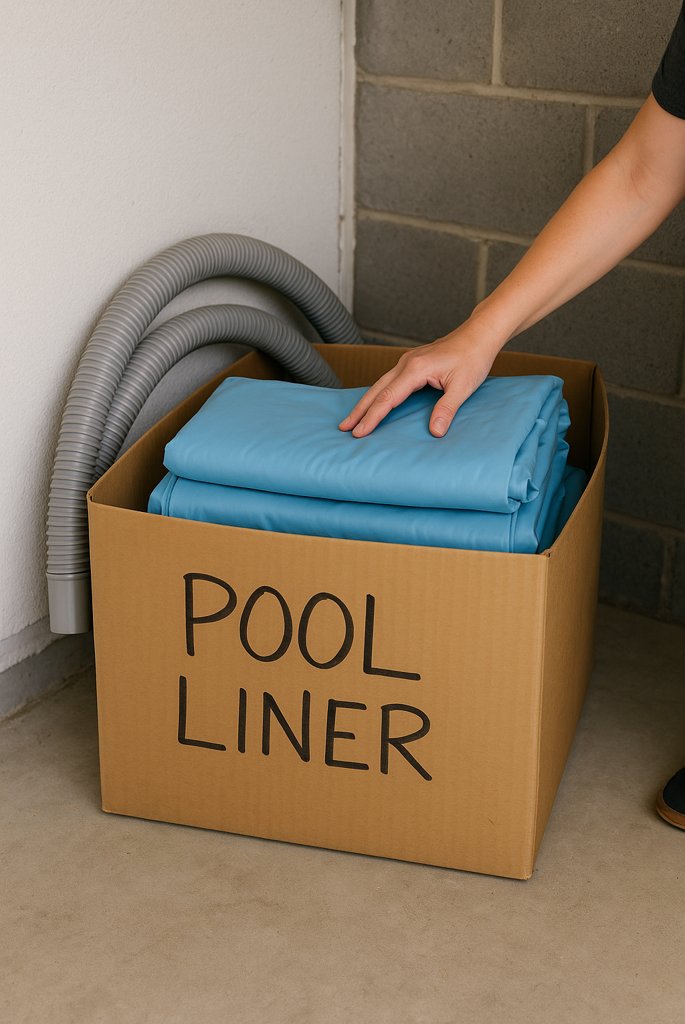
If you’re disassembling:
- Carefully remove all hoses, connectors, and pump components.
- Let everything dry thoroughly to avoid mildew.
- Fold the liner loosely to prevent creases and cracking, and store it in a dry, shaded space like a garage or basement.
If you’re keeping the pool up:
- Dry the inside as thoroughly as possible.
- Install a snug, weather-resistant pool cover to prevent rainwater, insects, and debris from entering.
- Make sure the cover is tightly secured around the edges to avoid it being blown off by wind or sagging under rainfall.

Pro Tips and Safety Reminders
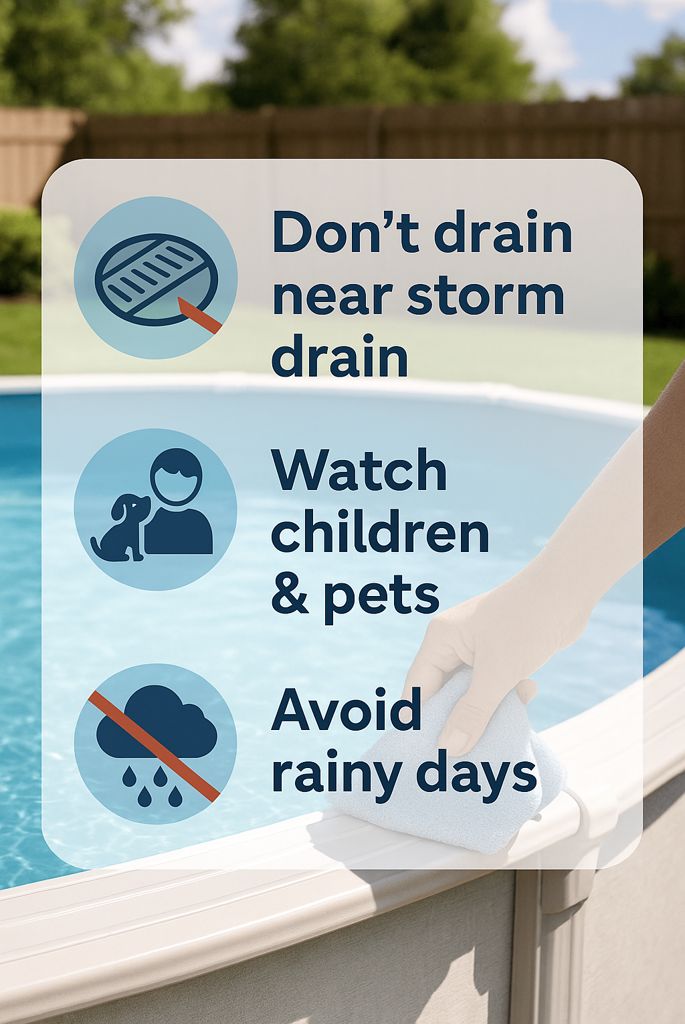
- Always check local ordinances about draining large volumes of water. Some areas restrict draining into storm sewers or street gutters.
- Avoid draining during or before rain; wet soil around the base can shift and destabilize the frame.
- Never leave children or pets unattended near the draining pool. The changing water level and hoses can be hazardous.
Why You Might Need to Empty Your Pool
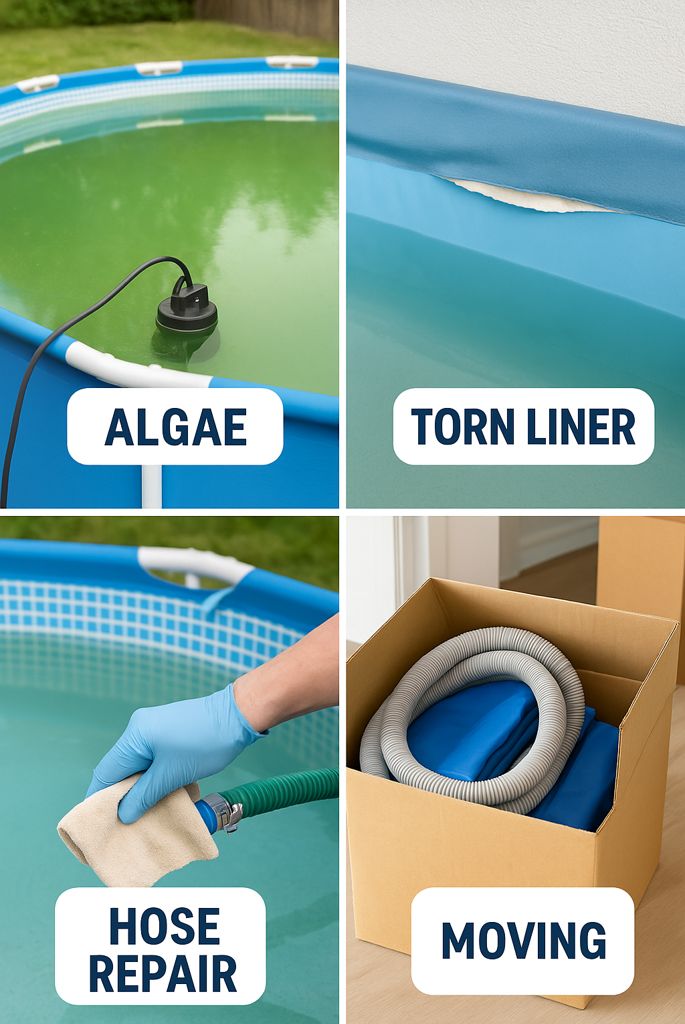
There are several practical reasons you might need to drain your above ground pool:
- The water is beyond chemical repair (algae bloom or bacteria outbreak).
- You’re doing a deep clean or replacing the pool liner.
- It’s the end of the season and time to store the pool.
- You’re preparing for repairs to hoses, fittings, or the base.
- You’re moving or relocating the pool to a new spot in the yard.
Final Thoughts
Knowing how to empty an above-ground pool properly is essential if you want to extend its life and avoid costly damage. Following each step carefully ensures your pool stays clean, safe, and ready for the next swimming season. Whether prepping for storage or giving it a fresh start, it’s worth doing it correctly.