How to Remodel a Bathroom with a Window in the Shower
Remodeling a bathroom with a window inside the shower can be challenging and rewarding. The challenge lies in preventing water damage, maintaining privacy, and ensuring proper ventilation.
The opportunity comes in transforming what many see as a limitation into a bright, elegant focal point. When handled thoughtfully, a shower window can make your bathroom feel more open, filled with natural light, and beautifully refreshing.
Let’s explore creating a luxurious shower experience while keeping the window functional and flawless.
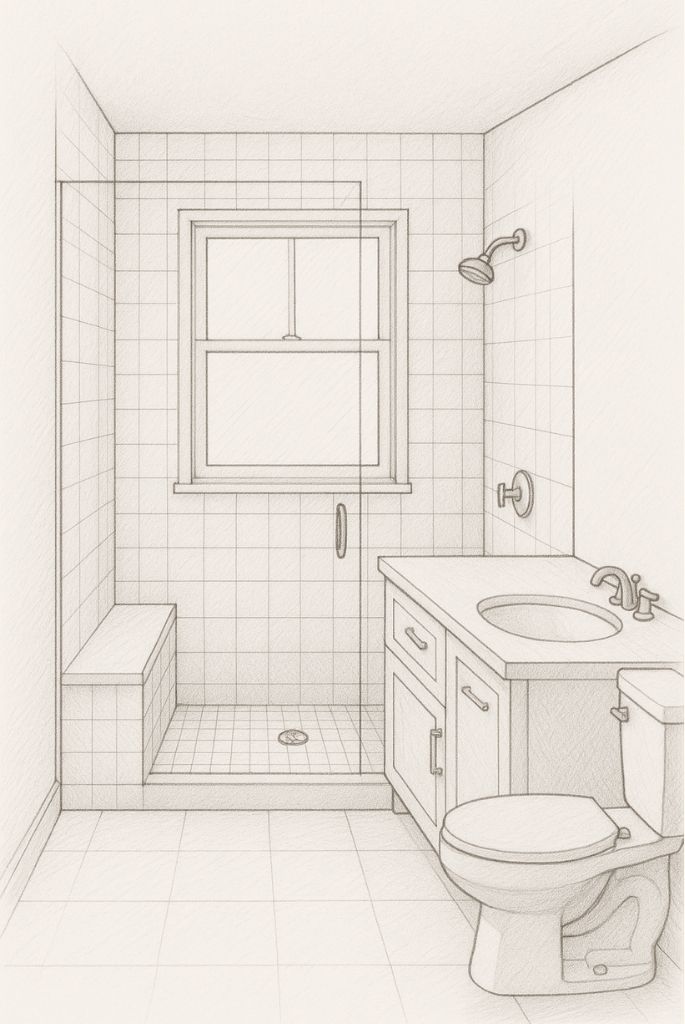
Step 1: Planning & Design Phase
Assess the Existing Window or Window Opening
- Does a window already exist in the shower wall (old tub-to-shower conversions often have this)?
- Is the window in good condition (frame, sill, weep holes) or degraded from water exposure?
- Will you keep it, replace it, or eliminate it?
Determine the Best Window Type & Placement
Key considerations:
- Height & location: Place windows higher on the wall to reduce direct spray or visibility.
- Window style: Options include sliding, awning, casement, transom, or fixed windows. Each has pros and cons in wet environments.
- Privacy vs light: Use frosted, textured, obscured glass, or glass block to balance light and privacy.
- Ventilation: If permissible by code, an operable window helps with moisture control.
- Frame material: In wet zones, avoid wood; prefer vinyl, fiberglass, or other non-rot materials.
Confirm Structural & Code Constraints
- You may need to cut into wall studs or the exterior wall, or hire a structural engineer or contractor.
- In wet areas, local building codes may require egress, minimum heights, or safety glazing (tempered glass).
- Check flashing, weep holes, drainage plane, and integration with the exterior wall.
Step 2: Demolition and Preparation
Once the plan is ready, begin the demolition carefully. Protect surrounding surfaces and turn off the water supply. Remove tiles, drywall, or backer boards around the window area to expose the framing. This will allow inspection of any hidden damage.
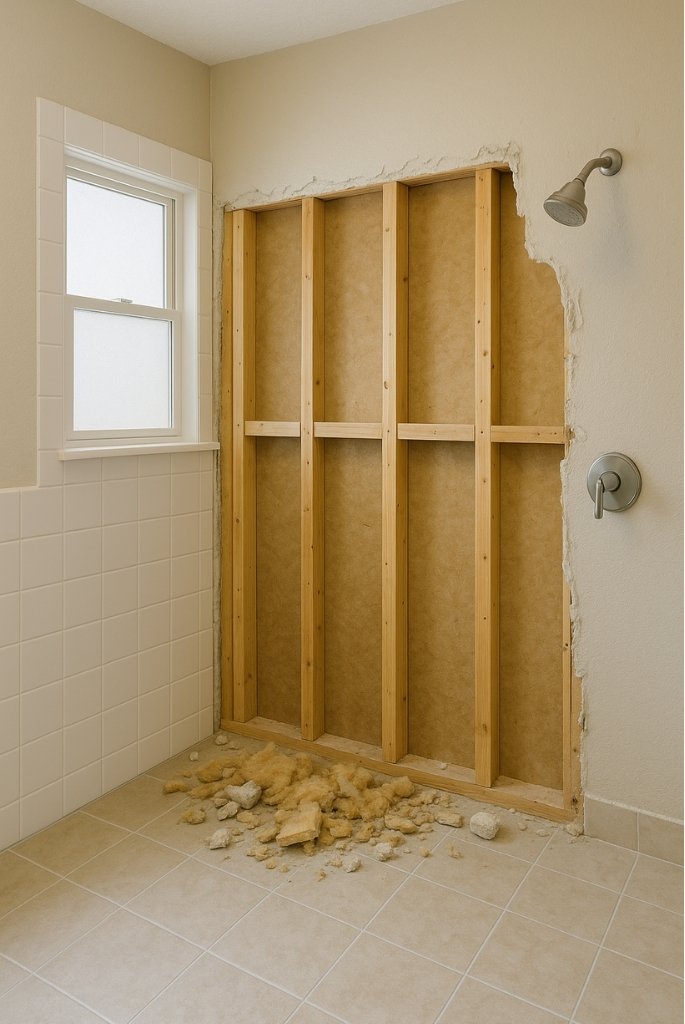
If you notice rot, mold, or weakened studs, replace them before continuing. Proper framing is critical, especially if the window is resized or relocated. After repairs, install a solid waterproof backer such as cement board or foam-based panels for wet environments.
Next, focus on waterproofing. Apply self-adhesive flashing around the rough window opening at the sill, jambs, and head.
A liquid or sheet waterproof membrane should be applied to the entire wall, extending into the window recess. The sill must have a slight inward slope to let water drain safely toward the shower instead of seeping into the wall.
Step 3: Installing and Sealing the Window
It’s time to install the new window when the structure is prepped. Position the frame perfectly level and plumb, using shims if needed. Fasten it securely following the manufacturer’s instructions. Before proceeding, check that it opens and closes smoothly.
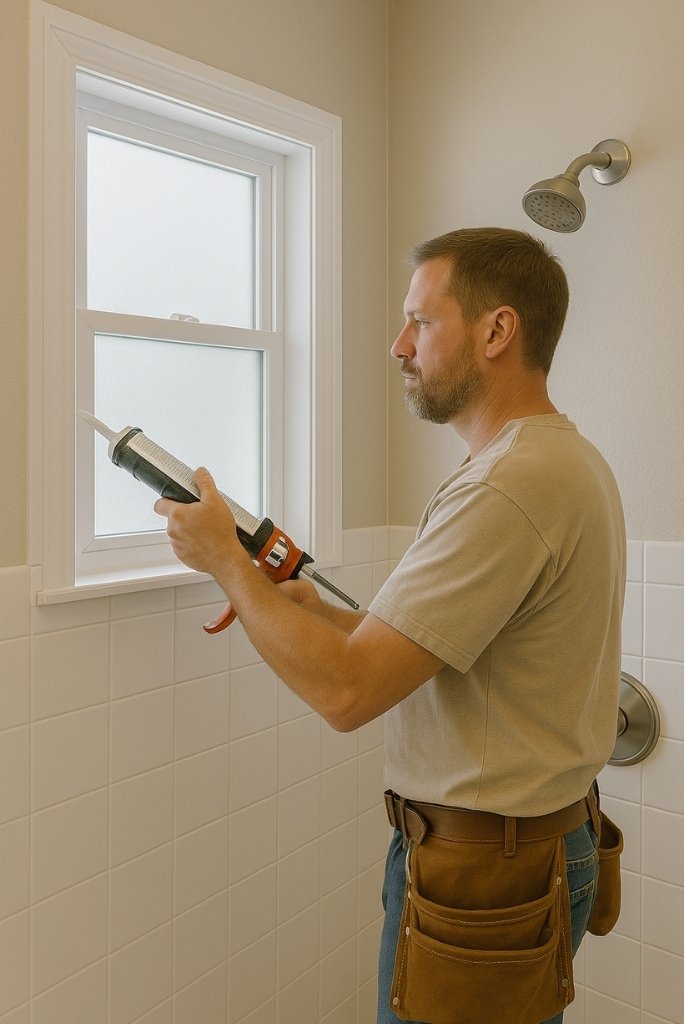
Sealing is where many remodels fail. Use 100% silicone sealant around all joints where the frame meets tile or waterproof backer. Avoid standard painter’s caulk or grout at the perimeter, as they will crack over time. On the exterior side, ensure that flashing and weep holes direct any trapped moisture outward.
Consider adding a solid-surface sill of stone, composite, or tile inside. The sill should be slightly angled downward to prevent standing water. Avoid wood trims altogether, as they will eventually warp or decay.
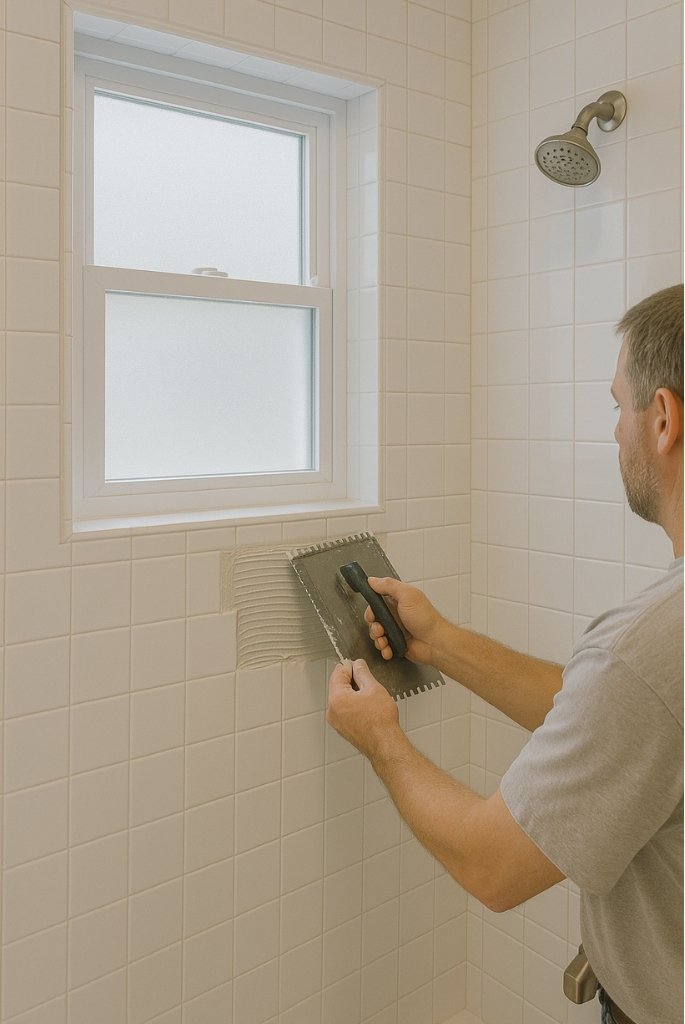
Step 4: Tiling, Wall Finish & Integration
Select Wall Finish System
- Tile + waterproof backer board: traditional, flexible design choices.
- Grout-free panels / solid surface wall panels: fewer joints, easier maintenance, and more straightforward integration around the window.
- Use suitable substrates (cement board, Wedi, Schluter, etc.) behind the tile or panel.
Edge Detail & Transition
- Use a movement joint or caulk joint instead of rigid grout at the interface between the window frame and wall finish.
- Use tile edge profiles or Schluter trims to protect tile edges.
- Extend the waterproof membrane behind the tile or panel to the window frame.
Grouting & Sealing
- Use a quality waterproof or epoxy grout for the tile.
- After tile installation, apply a penetrating sealer (for natural stone) if recommended.
- Seal transitions, corners, and any movement joints with appropriate flexible sealant.
Step 5: Managing Water Spray and Layout
Water management plays a vital role in preserving your window’s integrity. Consider reorienting the shower head during your remodel so it does not directly spray the window. This simple adjustment drastically reduces water impact over time.
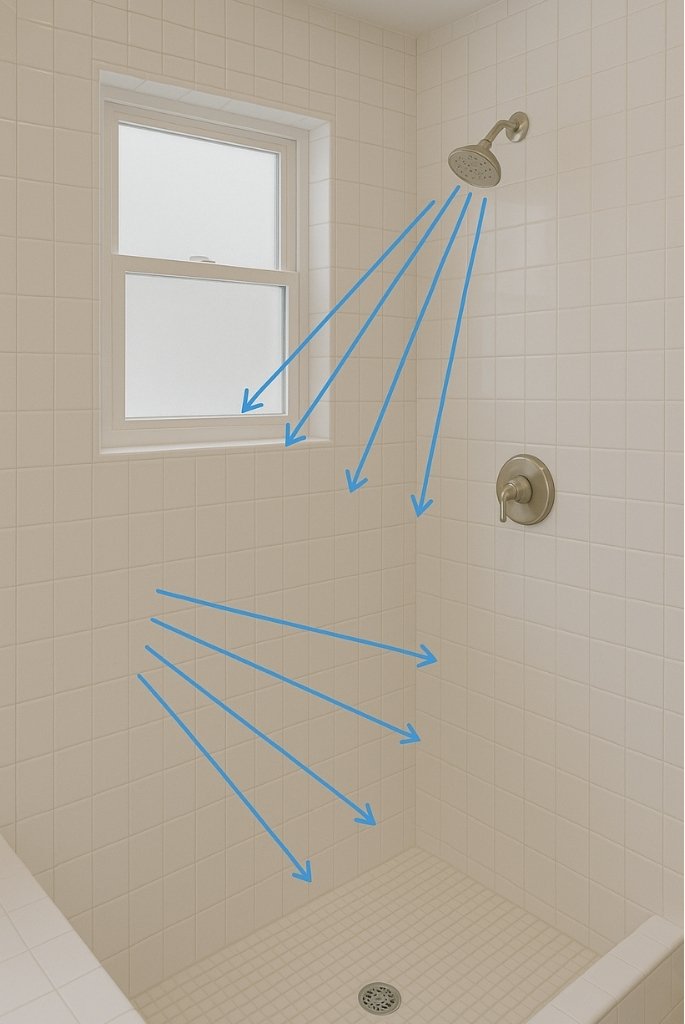
If re-positioning isn’t possible, install a partial glass partition or splash guard to deflect water from the window. Frameless glass enclosures can achieve this while keeping the bathroom’s aesthetic open and modern.
Even though a window allows natural ventilation, don’t skip an exhaust fan. A high-quality humidity-rated fan will help remove lingering moisture and prevent mold growth. For best results, run the fan for 10–15 minutes after every shower.
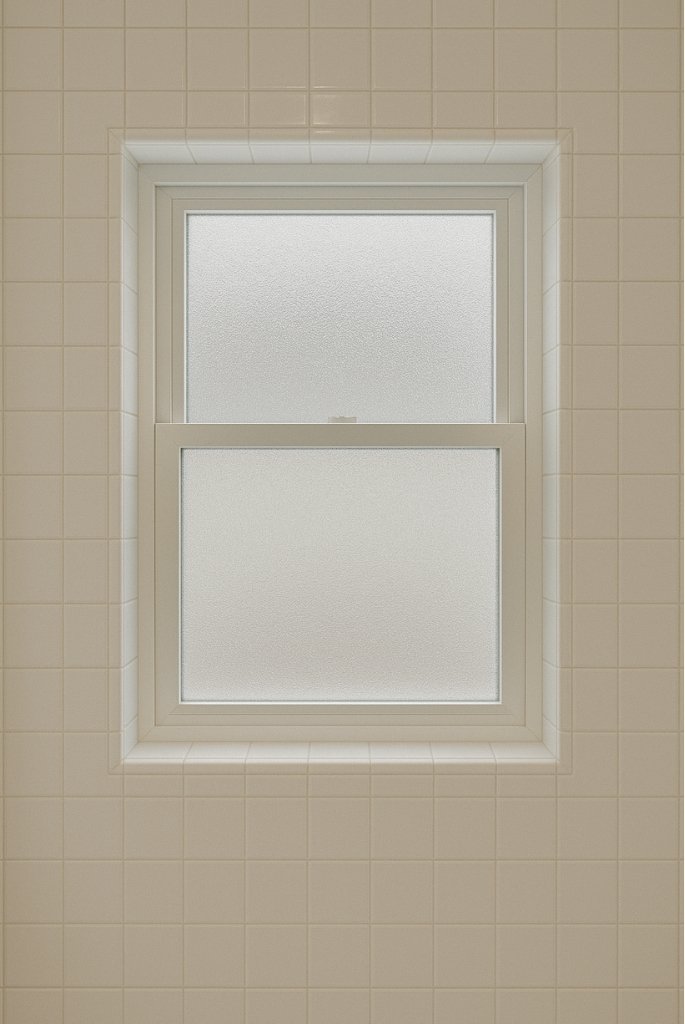
Step 6: Privacy and Natural Light
Privacy is often the biggest concern with a window inside a shower. Fortunately, several modern options make it easy to keep your space both private and bright.
You can choose frosted, etched, or rain-pattern glass that diffuses light beautifully while obscuring visibility. Another elegant option is glass block windows, which provide a sense of texture and luxury with total privacy.
If replacing the glass isn’t feasible, install waterproof window films that mimic frosted glass. These are budget-friendly and removable. Waterproof shutters or blinds made from PVC or composite materials can also work, but fabric curtains should always be avoided due to the risk of mildew.
Use light-colored tiles and reflective finishes in your bathroom design for added brightness. They’ll amplify natural light and make your space feel larger.
Step 7: Finishing Touches and Maintenance
Once your remodel is complete, focus on maintenance to keep your new setup beautiful for years. Inspect caulk lines annually and replace any sections that crack or peel. Clean the window regularly with non-abrasive cleaners to prevent buildup.
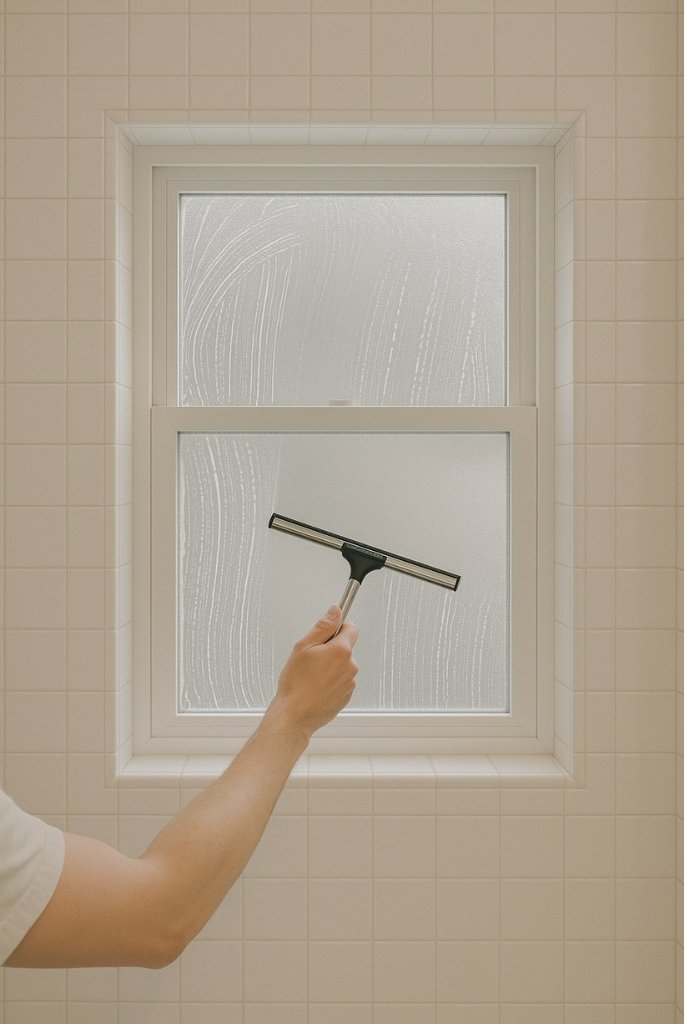
Use a shower squeegee after every use to minimize water spots and soap residue. Good ventilation habits are equally important; always keep the fan running after bathing and, if possible, open the window to let in fresh air.
By paying attention to small details, you can prevent larger maintenance issues down the line and preserve the fresh, elegant look of your remodeled bathroom.
Conclusion
A window in the shower doesn’t have to be a problem; it can become your bathroom’s most stunning feature. With proper waterproofing, thoughtful design, and durable materials, you can enjoy natural light, fresh air, and a spa-like experience right at home.
Whether upgrading a small guest bath or reimagining a main suite, this approach ensures beauty and practicality go hand in hand. The result is a bright, airy, timeless bathroom that feels like a daily sanctuary.