How to Style a Halloween Charcuterie Board for a Party
I look forward to Halloween party season every year, and it took me a while to admit the food table was always the weak link.
The pumpkins were carved, the mantel was styled, and then I’d throw a bag of candy corn next to some cheese cubes five minutes before guests arrived.
Once I started treating the charcuterie board like part of the decor instead of an afterthought, that changed completely, and now it’s the thing people photograph first.
A Halloween charcuterie board is genuinely the easiest way to pull that off: no cooking skills required, just the right ingredients arranged with a little intention.
How to Style a Halloween Charcuterie Board for a Party
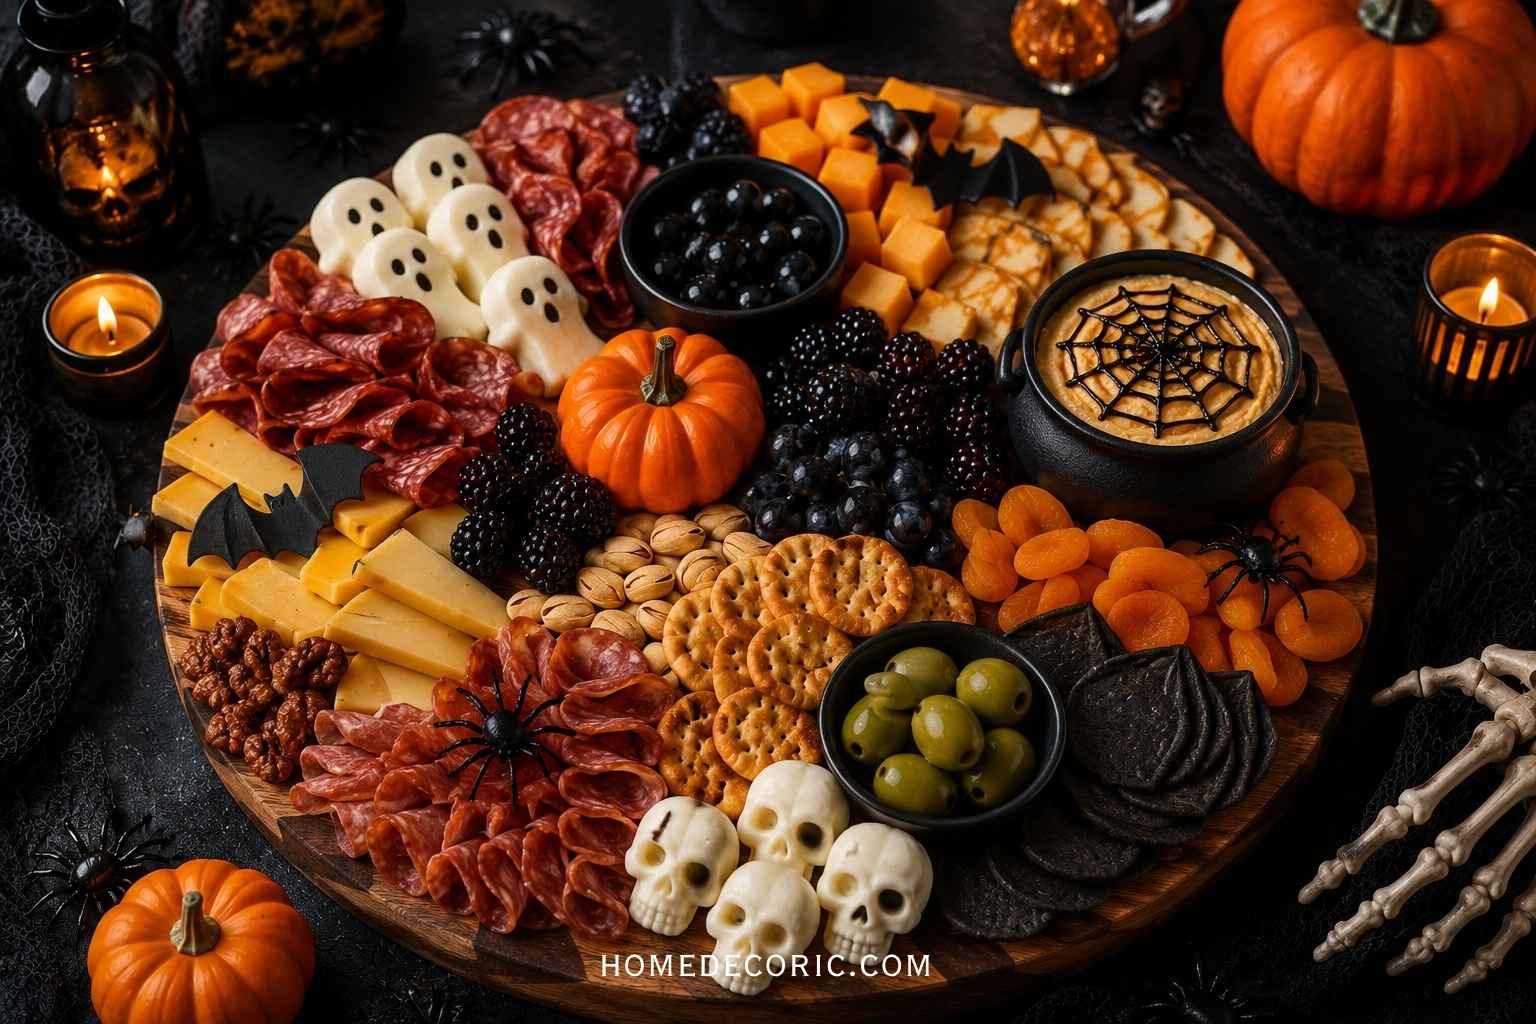
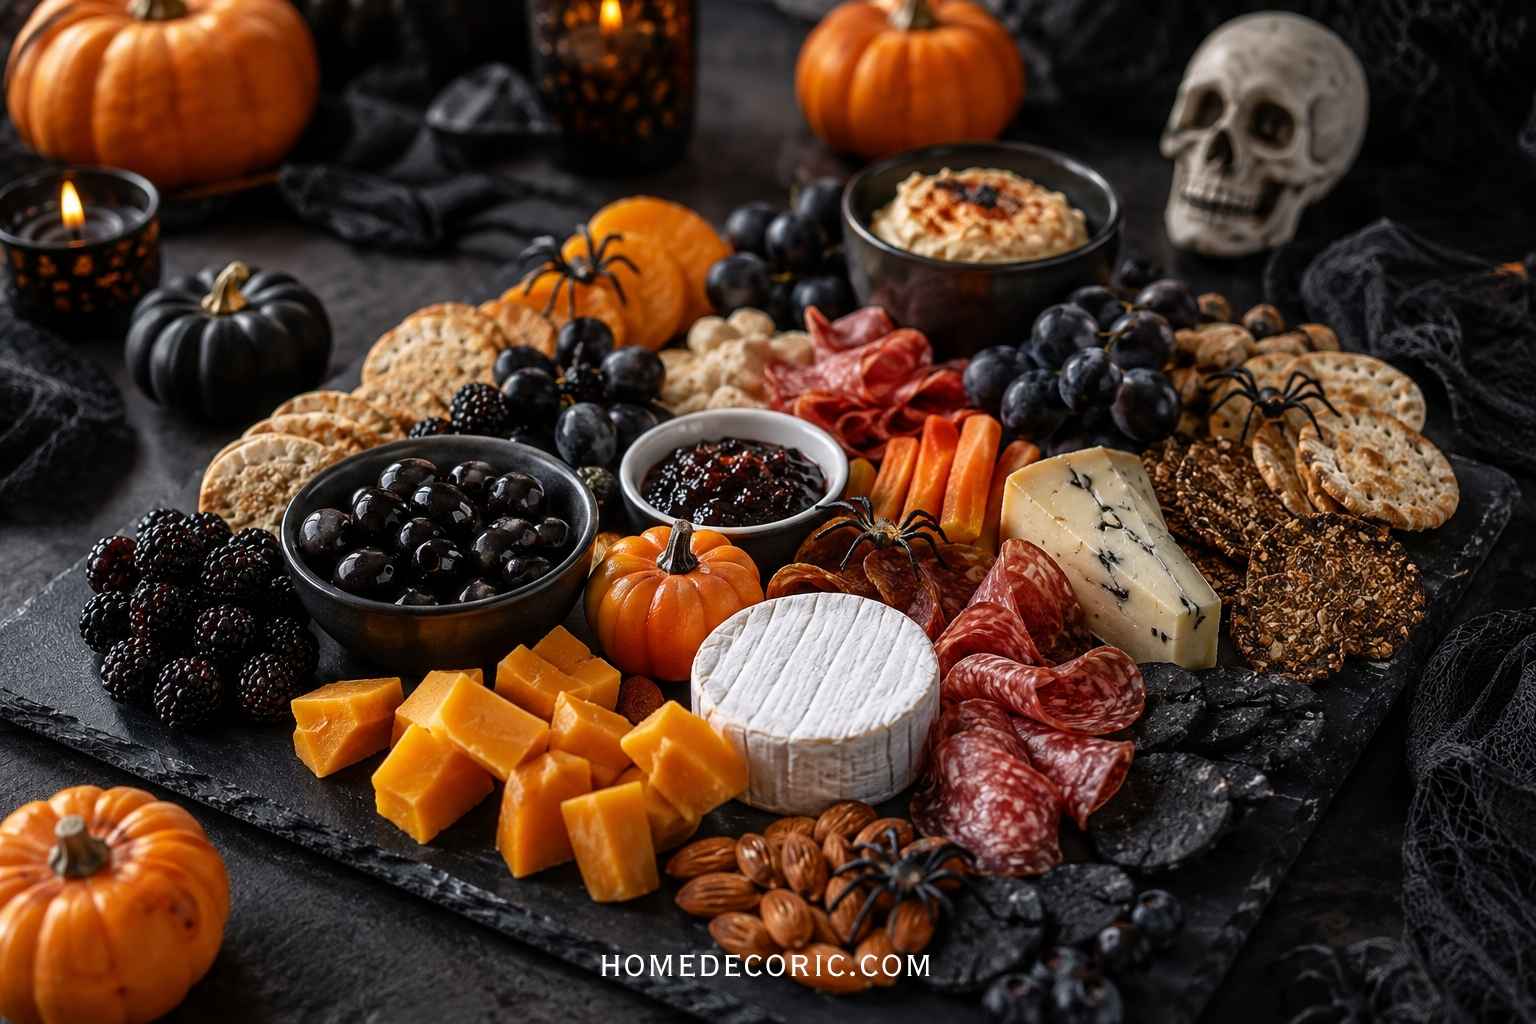
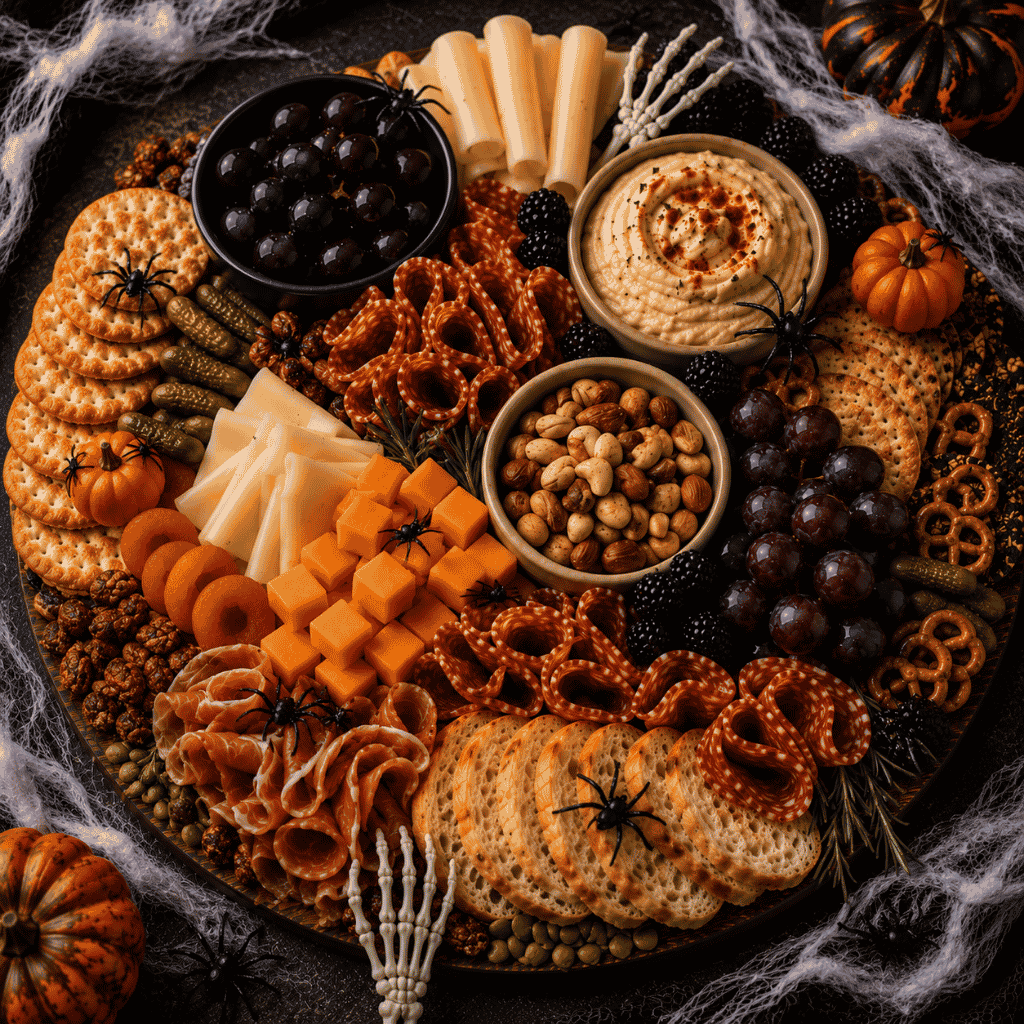
Use a dark wood or slate board as your base, build height with small bowls, layer in black and orange foods like dark grapes, cheddar cubes, and blackberries, and finish with spooky accents like plastic spiders, mini pumpkins, or edible”eyeballs.” The contrast in color and texture is what makes it photograph well and disappear fast at the party.
Why a Charcuterie Board Works So Well for Halloween
Charcuterie boards are already one of the most pinned party food formats on Pinterest, and Halloween gives you a built-in color palette to work with. Black, orange, deep purple, and green are all things you can find in cheese, fruit, and crackers without buying anything “Halloween-branded.”
It also solves a real hosting problem: guests can graze all night without you managing a hot food table, and the board itself becomes part of the decor instead of just sitting next to it.
What You Need Before You Start
A few basics make styling much easier than winging it with whatever is in the fridge.
A dark board or platter. Black slate, dark wood, or even a black tray gives you instant contrast against light-colored cheeses and crackers, and it reads as more “Halloween” than a light wood board without needing extra decoration.
Small bowls and ramekins. Anything wet, like olives, dips, or jam, needs its own container. Using 2 to 3 different bowl sizes also helps create the height and movement that makes a board look professionally styled.
A mix of textures. Smooth cheese, crumbly cheese, crunchy crackers, soft fruit, and crisp vegetables all sitting next to each other make a board interesting to look at and eat.
See more: 25 Vintage Decor Inspirations
Step-by-Step: Building the Board
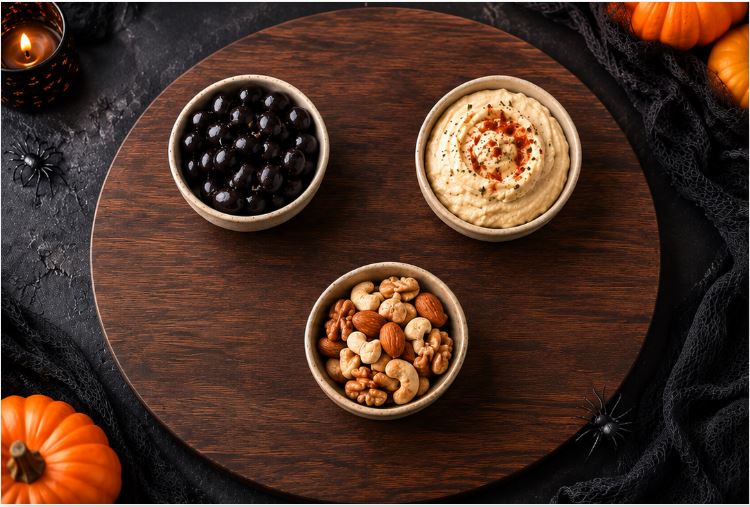
1. Start with the bowls. Place your filled bowls (dips, olives, nuts) on the board first, spaced unevenly rather than in a straight line. This gives you anchor points to build the rest of the board around.
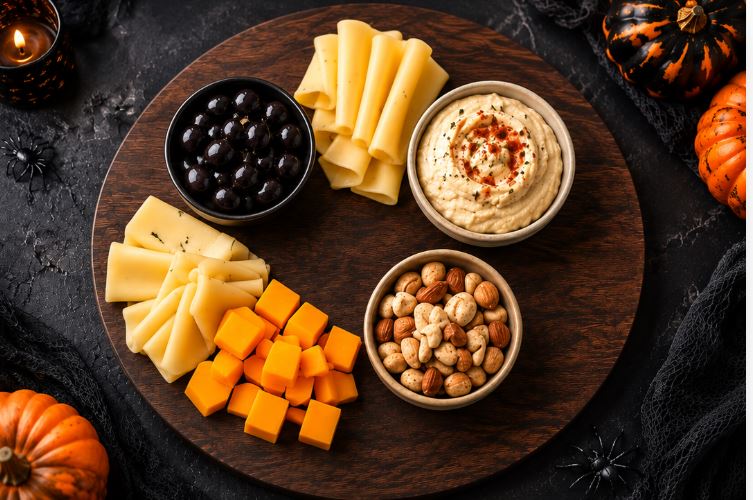
2. Add the cheese. Fold or fan slices near each bowl. Folded cheese takes up visual space efficiently and is easier for guests to grab than flat slices.
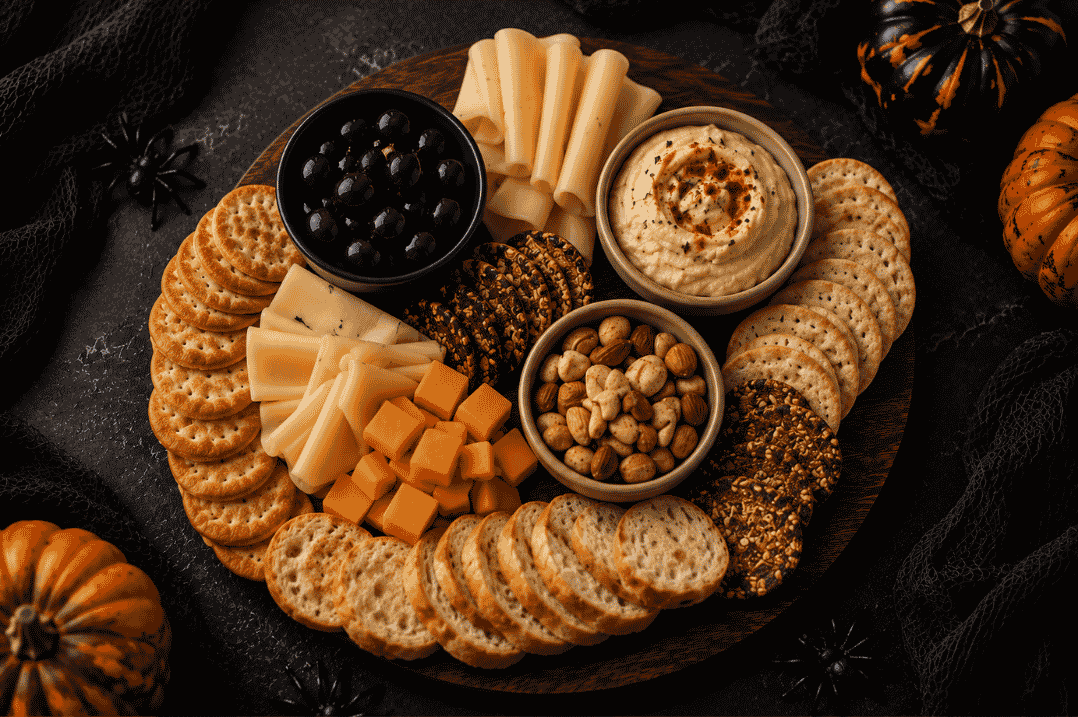
3. Fill in with crackers and bread. Fan crackers out in small overlapping rows or stand a few upright against a bowl for height. Leave a few gaps rather than covering the whole board.
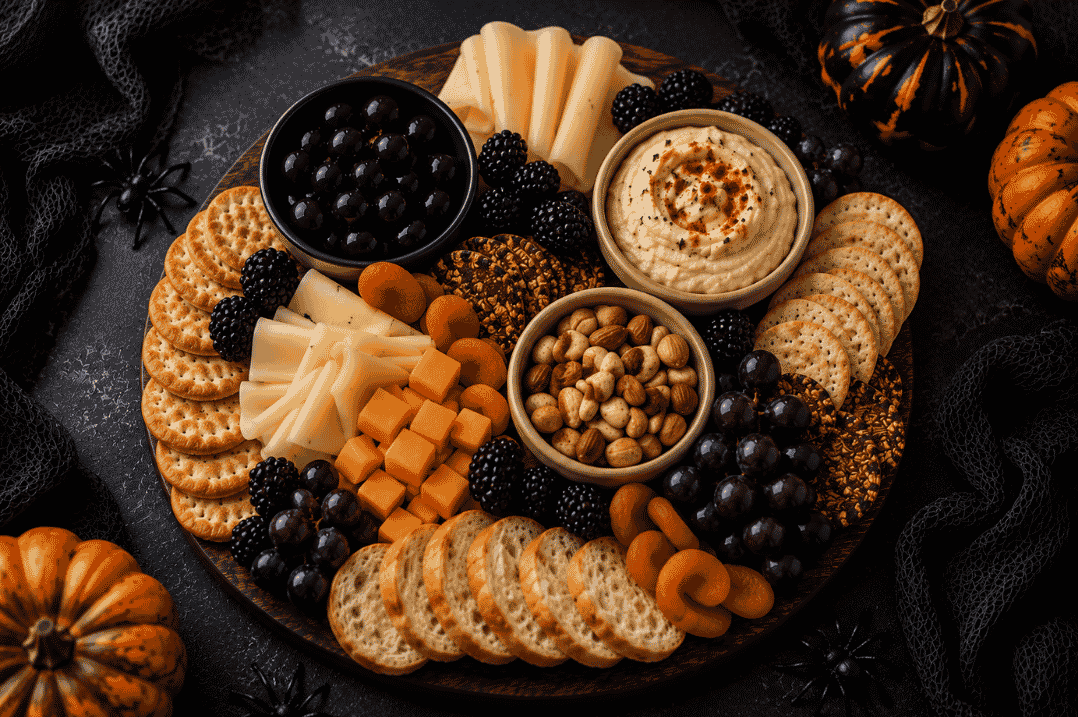
4. Layer in the fruit. Dark grapes, blackberries, and dried apricots add color pops in the orange and near-black range without any artificial dye or decoration.
5. Add protein. Small folds of salami or prosciutto tucked into open spaces add richness and fill gaps quickly.
See more: 31 Spooktacular Halloween Wreath Ideas to Haunt Your Door
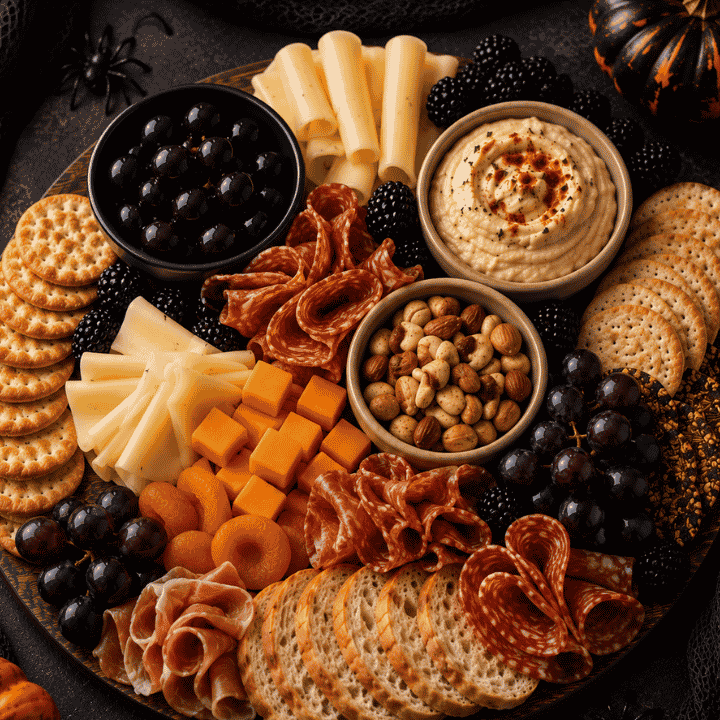
6. Fill every remaining gap. Use small items like nuts, pretzels, or mini pickles to fill any visible board space. A board with gaps looks unfinished; a fully packed board looks intentional.
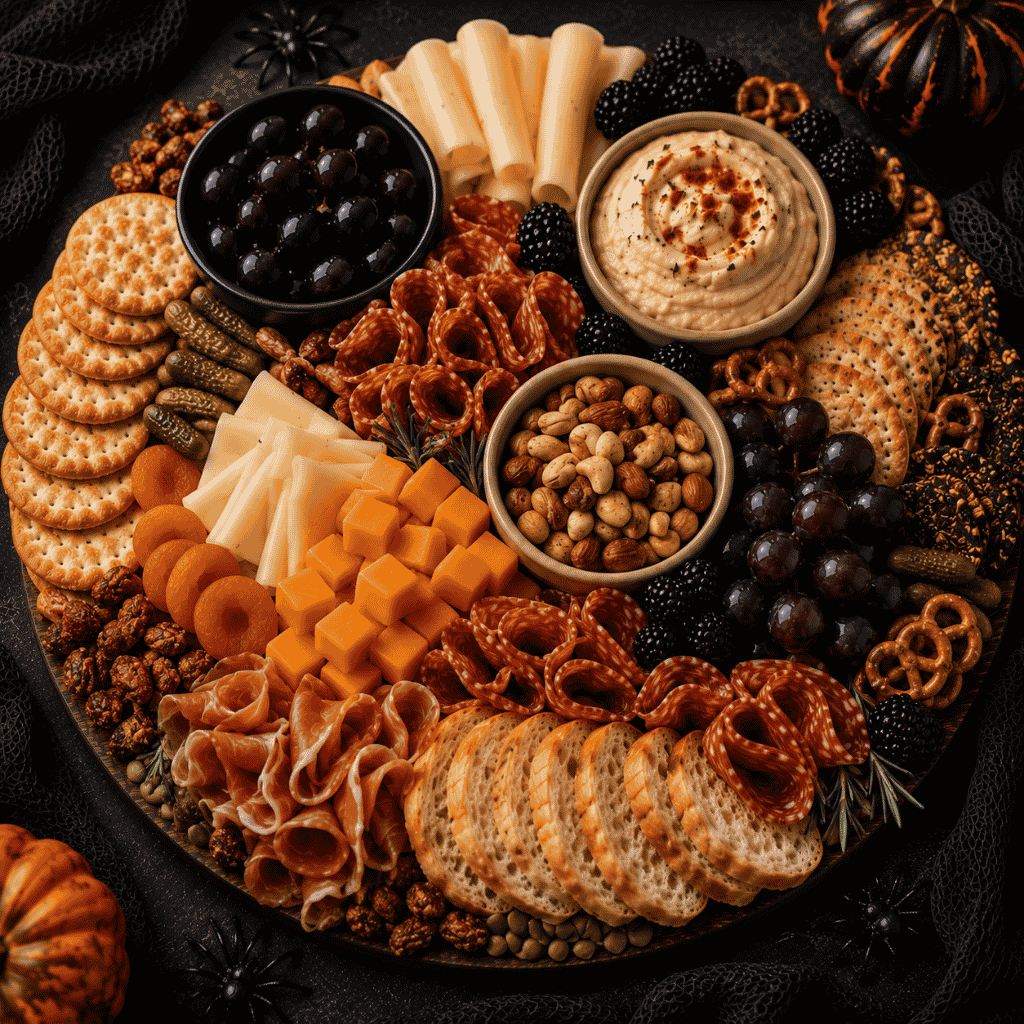
7. Add the Halloween accents last. Plastic spiders, small skeleton hands, mini pumpkins, or a few sprigs of fake spiderweb go on at the very end, placed sparingly so they read as an accent, not a costume.
Ideas and Quick Tips for Extra Impact
Peeled grape “eyeballs.” Peel a few green grapes and press a small piece of olive or blueberry into one side to create a creepy “eyeball” garnish for the cheese section.
Blood orange slices. Thin blood orange slices add a deep red-orange color that reads as more “elevated Halloween” than bright orange candy.
A single dramatic centerpiece. One small carved or painted pumpkin placed on (or just off) the board gives photographers and Pinterest pins a natural focal point.
Black tortilla chips or crackers. Activated charcoal crackers or chips are widely available around Halloween and instantly darken the palette without any extra styling effort.
Frequently Asked Questions
What foods go on a Halloween charcuterie board?
Dark grapes, cheddar and gouda cheese, blackberries, salami, black crackers, olives, and a small pumpkin or Halloween-themed pick are the core building blocks. The goal is natural black, orange, and deep purple tones rather than dyed food.
What size board do I need for a party?
For 8 to 10 guests, a board around 16 to 18 inches works well. If you don’t have one that size, two smaller boards placed side by side give you the same surface area and are easier to carry.
How far in advance can I prep a charcuterie board?
Cheese, crackers, and dry items can be prepped up to a day ahead and stored covered in the fridge. Add fresh fruit, dips, and the Halloween accents within an hour or two of the party so everything looks fresh.
Do I need special Halloween-branded products?
No. Most of the “Halloween look” comes from color choices (dark grapes, orange cheese, black crackers) rather than branded packaging. A few small plastic spiders or a mini pumpkin are usually enough for the theme to read clearly.